12. Molding & Casting
Reflection
I learnt how to Mold. Steps includes designing and making a mold, selecting materials, using CNC milling or 3D printing to create parts.Key terms include mix ratio where items are to be mixed, pot/working life indicates how long the resin is workable before it starts to harden; Cure time is the time of hardening the material.
Quote from internet: 3D milling refers to the CNC’s ability to move X, Y and Z all at the same time.
Cast is the harden object taken from the mold. The objects can have different hardness measured by Shore Hardness.
Curing is not a final fantasy term to heal your ally. It means process of hardening.
Silicone Mold release did not work well for my chocolate mold project.
Chemistry Student, happy reading your datasheet.
Group Assignment
- review the safety data sheets for each of your molding and casting materials, then make and compare test casts with each of them. Done in 2022.
- compare printing vs machining molds: refer to section on comparision below instead of group assignment as I did this section myself in 2024.
- 2022 group assignment link
Individual Assignment
- ☑ Linked to the group assignment page and reflected on your individual page what you have learned
- ☑ Reviewed the safety data sheets for each of your molding and casting materials, then made and compared test casts with each of them
- ☑ Documented how you designed your 3D mold and created your rough and finish toolpaths for machining, including machine settings
- ☑ Shown how you made your mold and cast the parts
- ☑ Described problems and how you fixed them
- ☑ Included your design files and 'hero shot' of the mold and the final object
What I did
My individual assignment is to develop a design model for chocolate and employ CNC milling and 3D printing to fabricate a corresponding mold. I utilize the Roland MDX 50 CNC milling machine and Bambu Carbon X1 to fabricate.
V2 My Digital Object Mold & 3D Printing or Milling
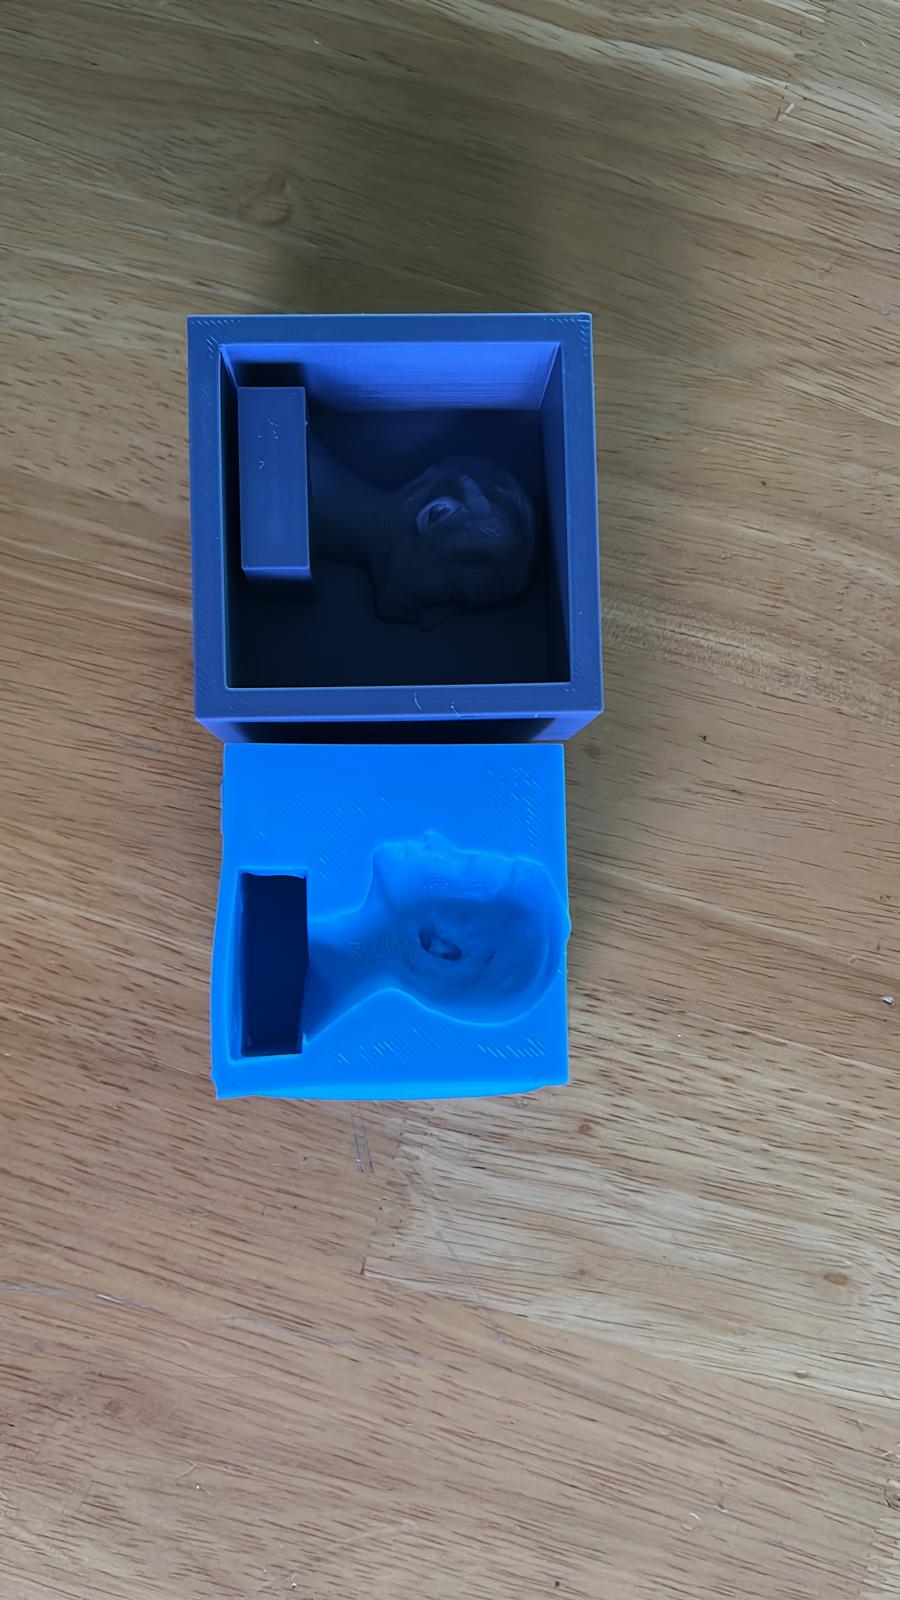
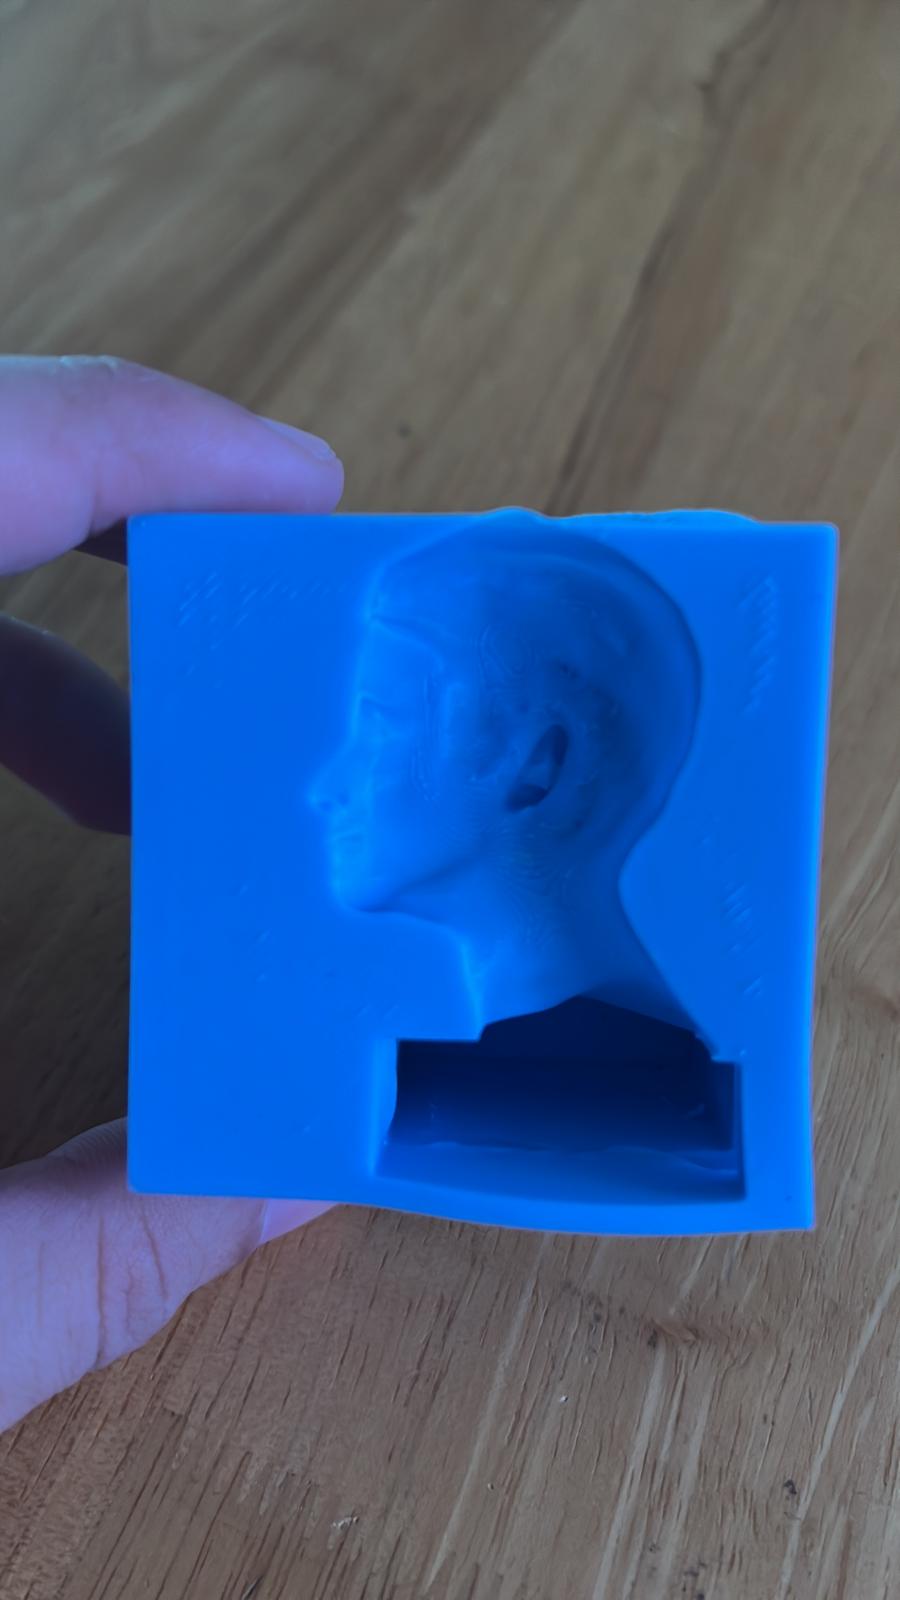
First I started with designing the mold. Picture below shows the designs I made. I remade on instructor's suggestion.
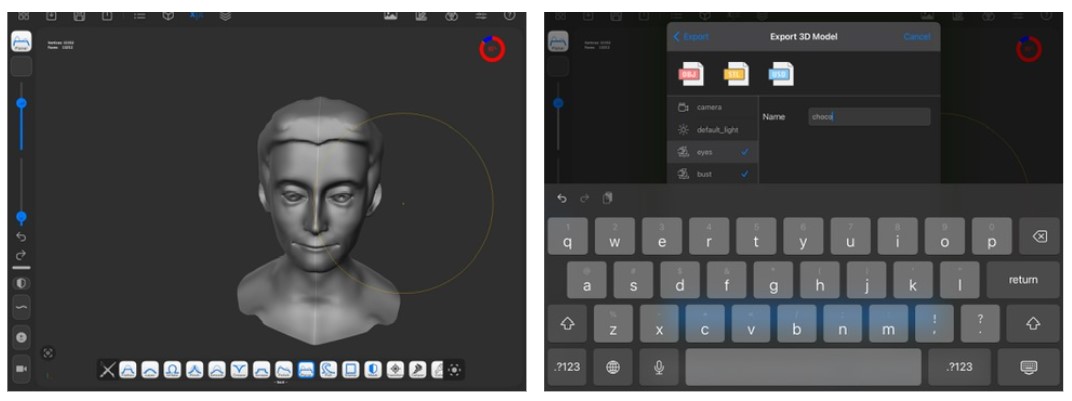
I made a sculpture using Forger on Ipad.
Then I exported the file.
Next I import mesh file into F360, repair mesh, closed mess hole and converted the mesh to solid.
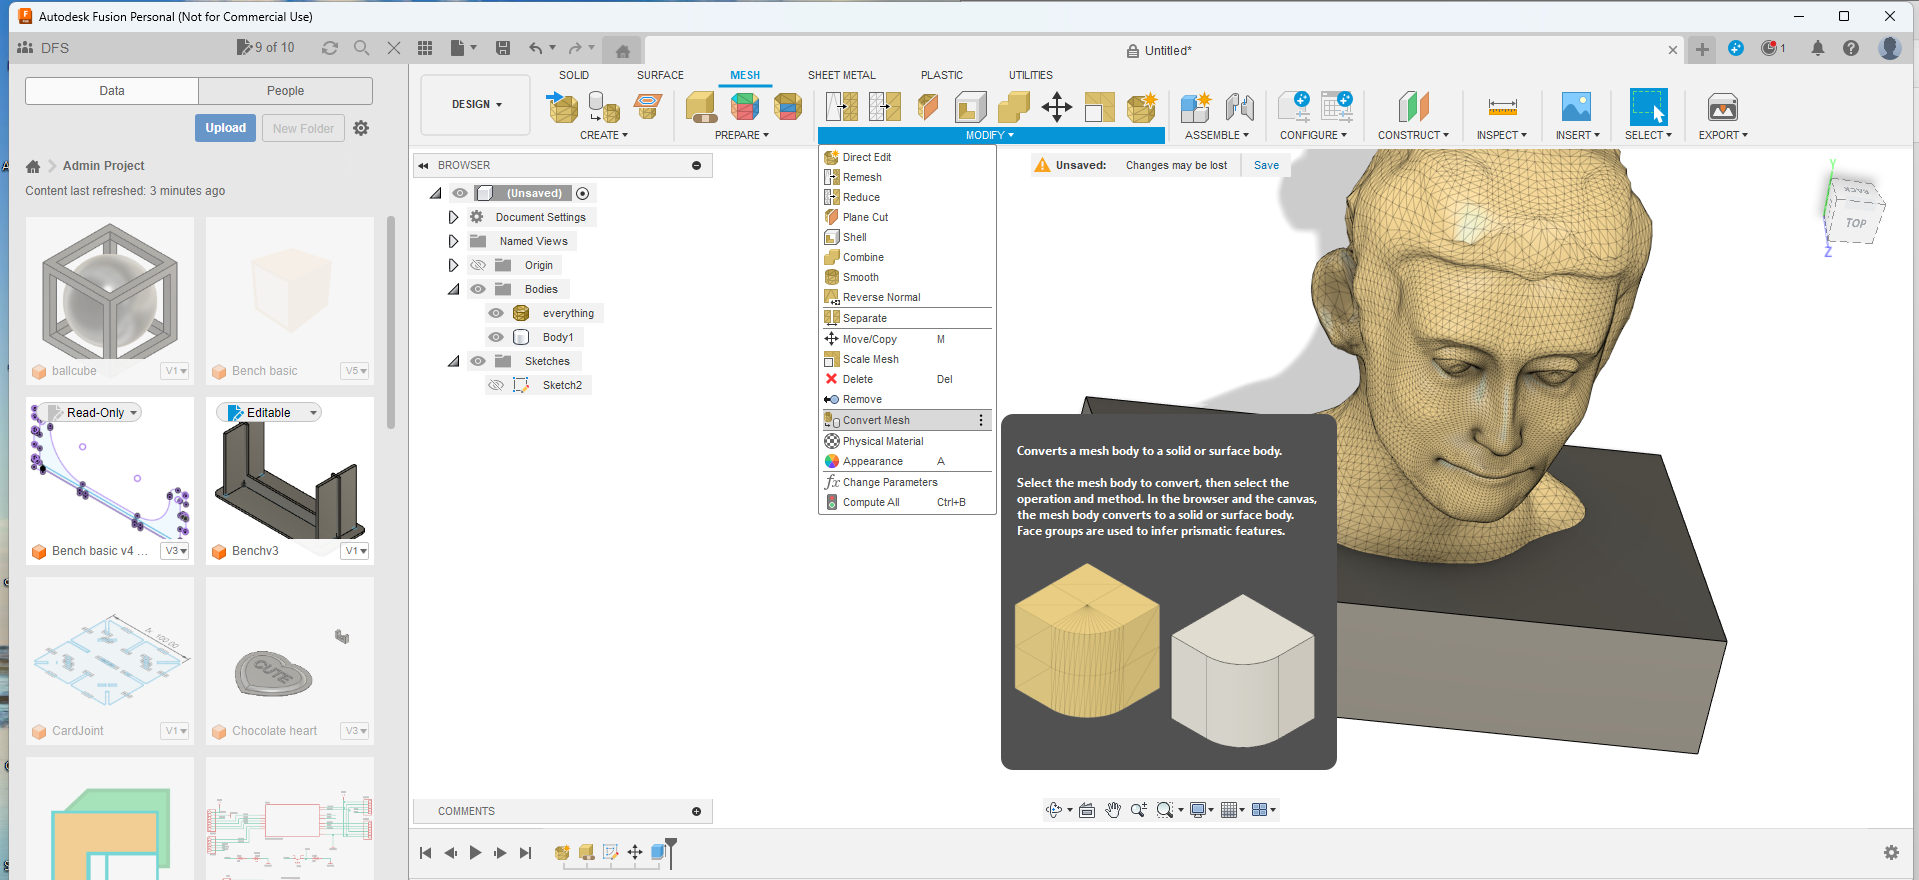
I boolean subtract on rectangle to get the 3D model.
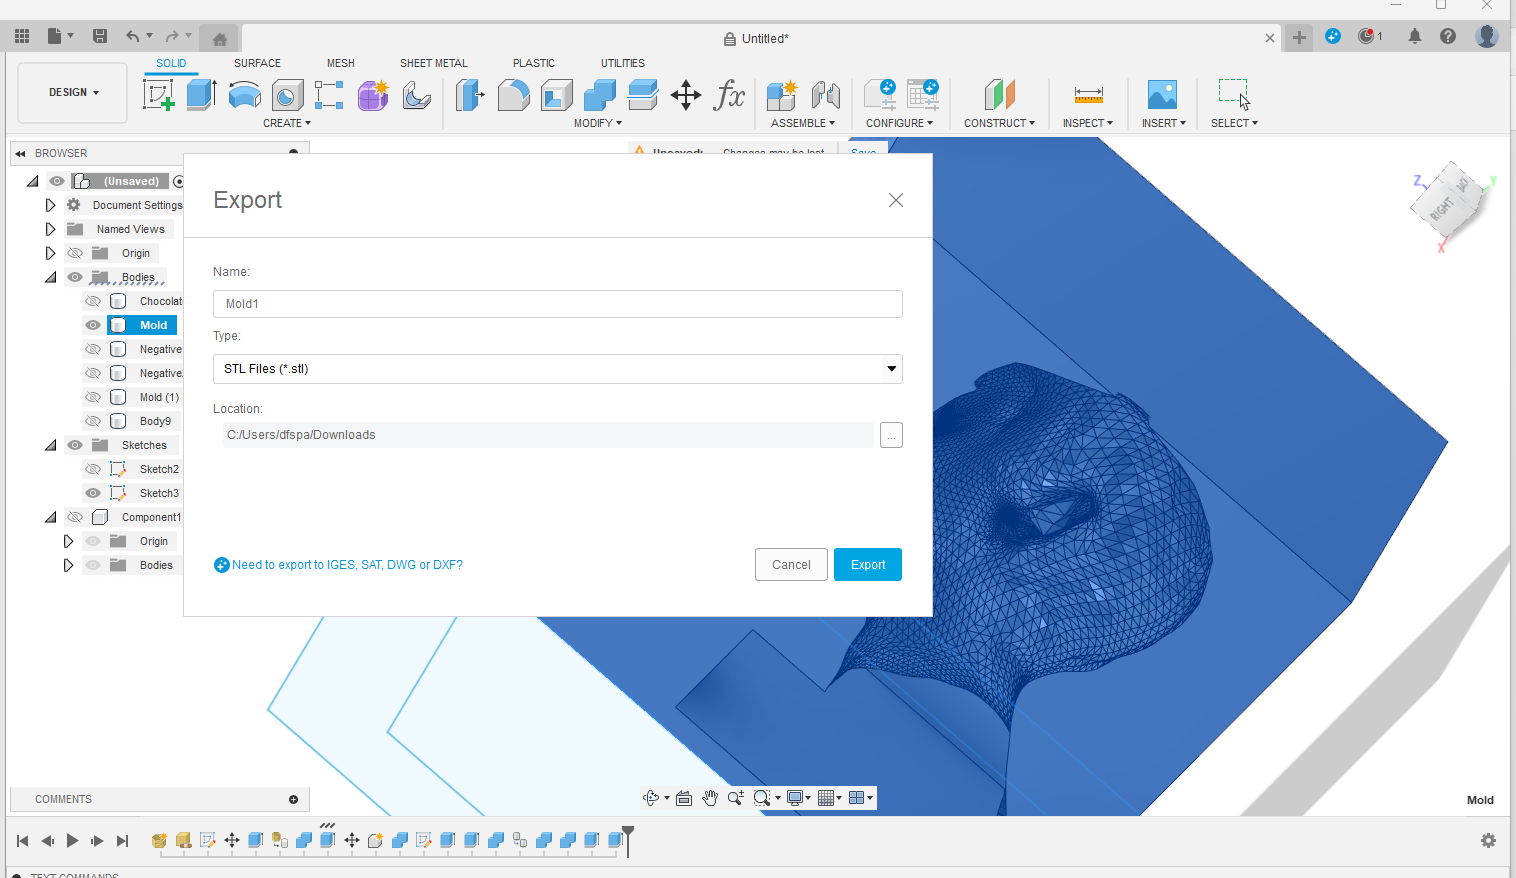
I exported the mold
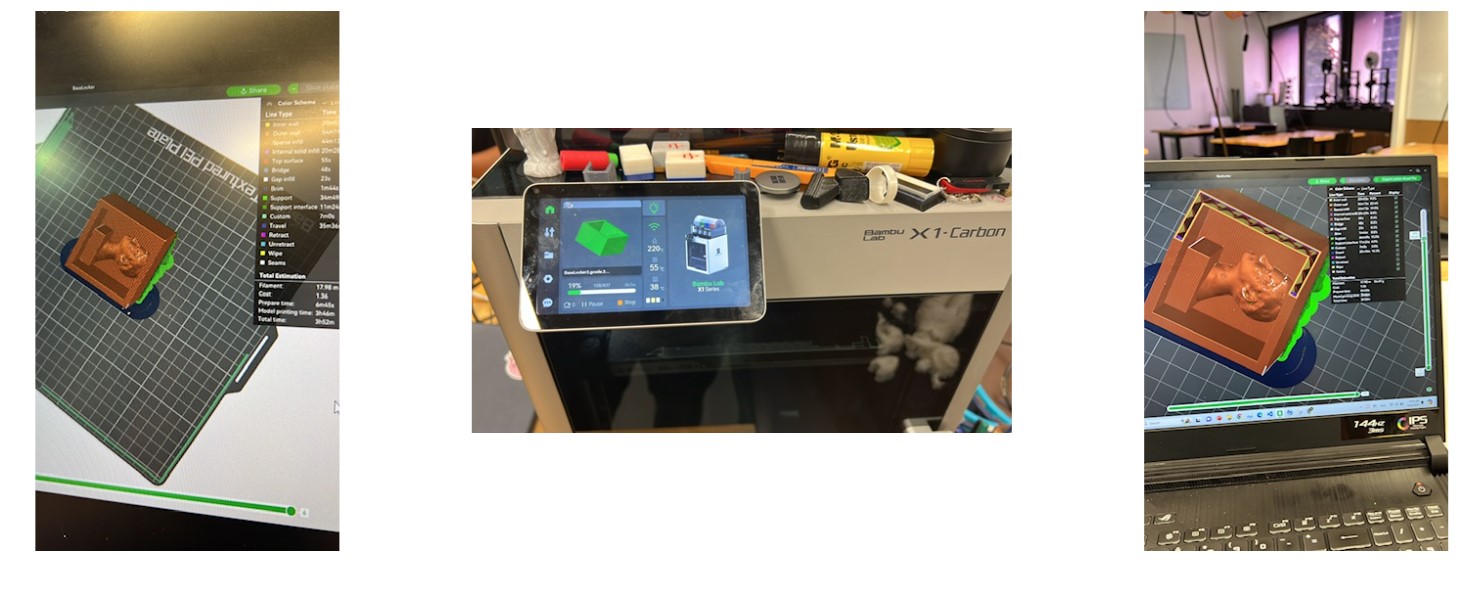
Then I set the Bambu Settings for 3D printing.
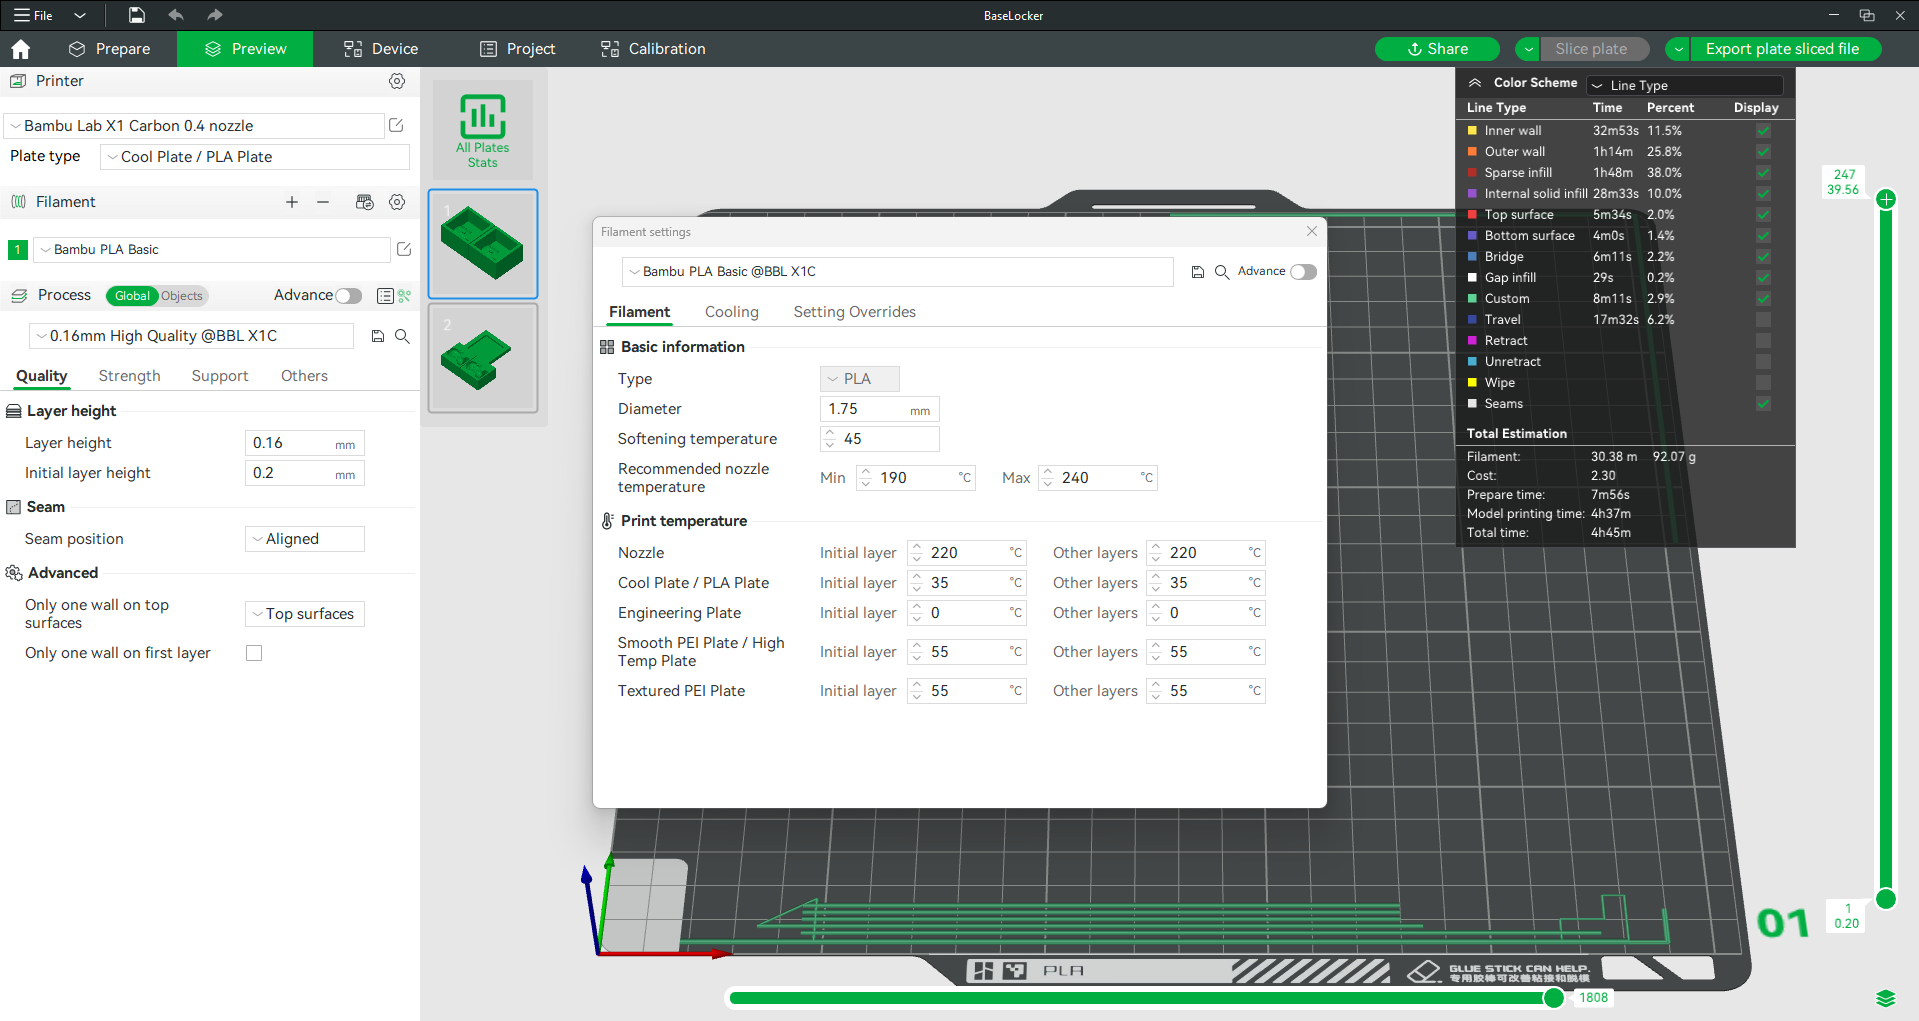
Then I reprinted at an angle and lower layer height of 0.08mm so that the fdm quality is higher.
V1 CNC Milling
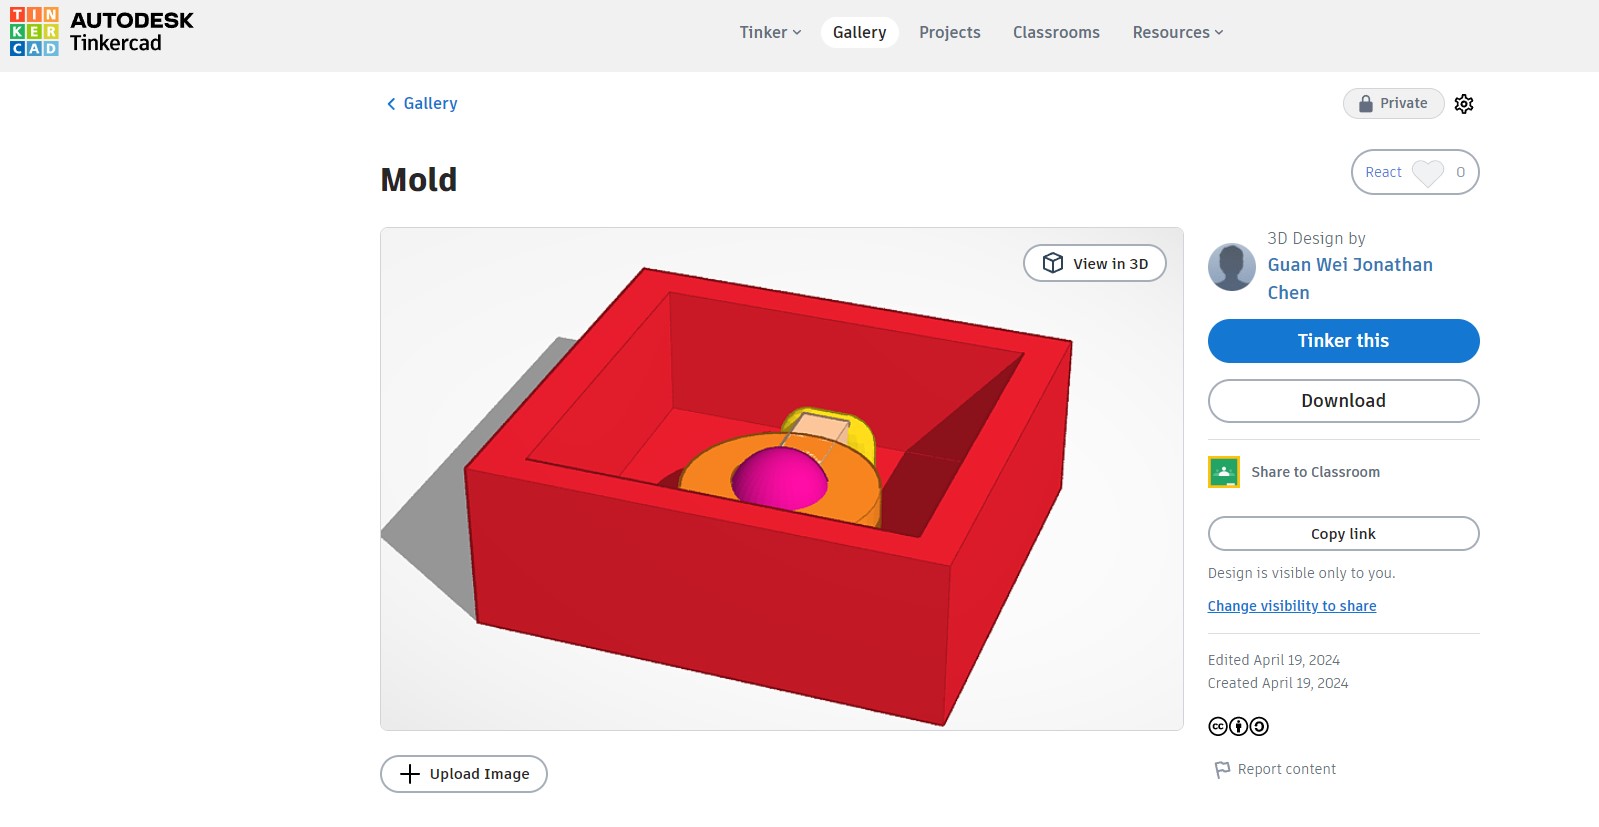
First I started with designing the mold in Tinkercad by dragging the shapes I want and export as stl file.
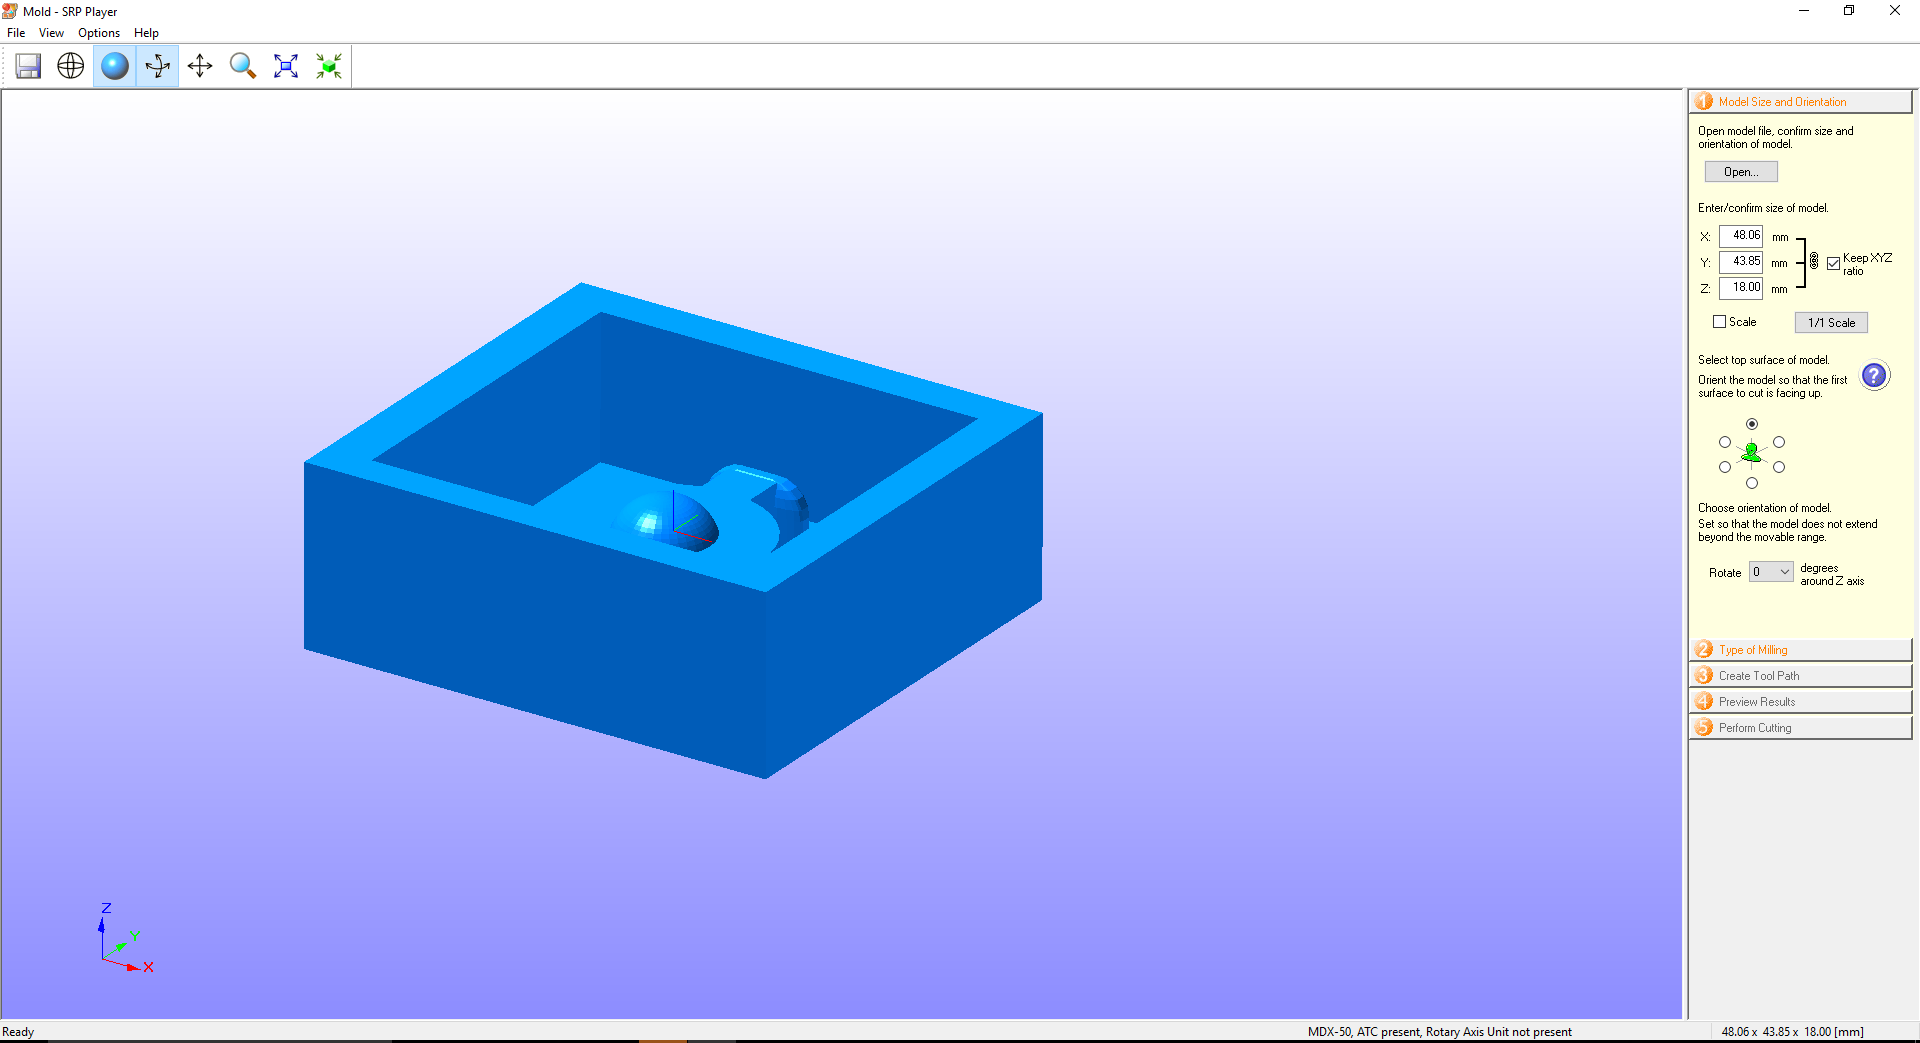
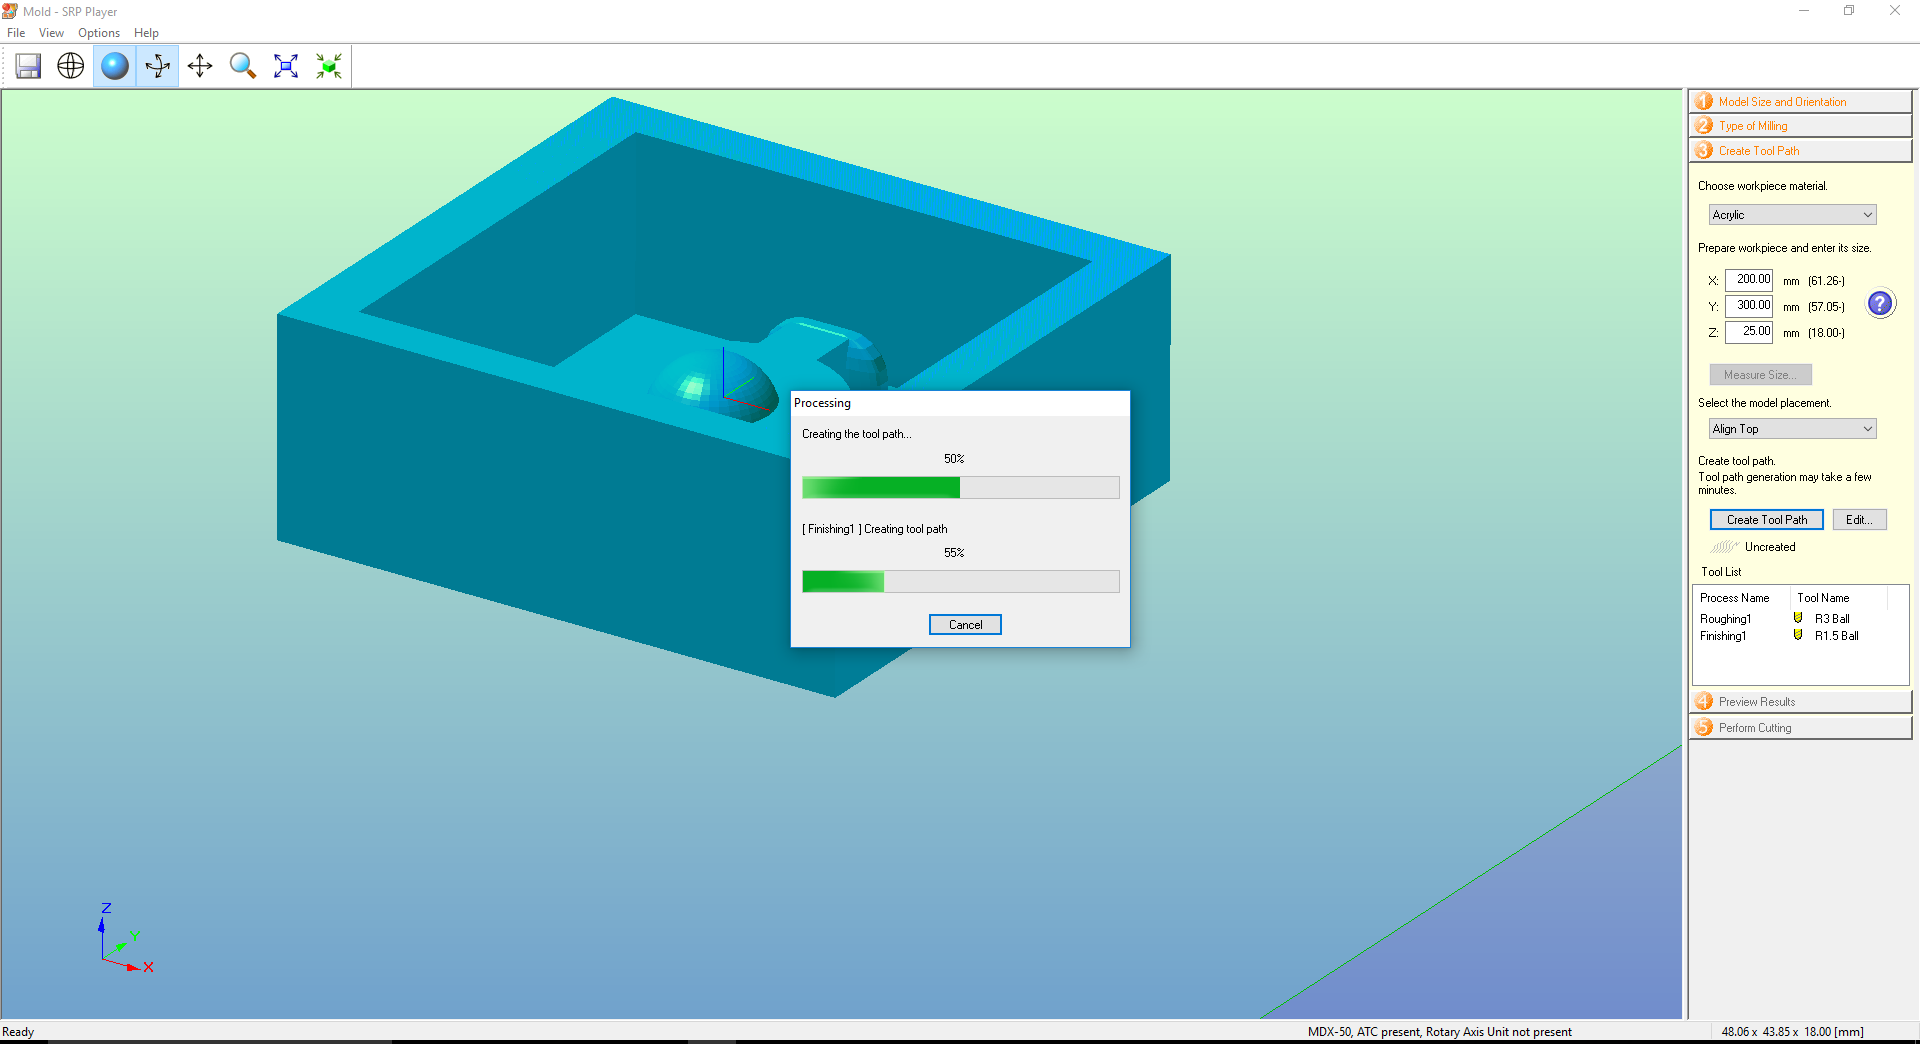
I open the file in SRP Player and select the setting of size and orientation of stl as shown in picture below.
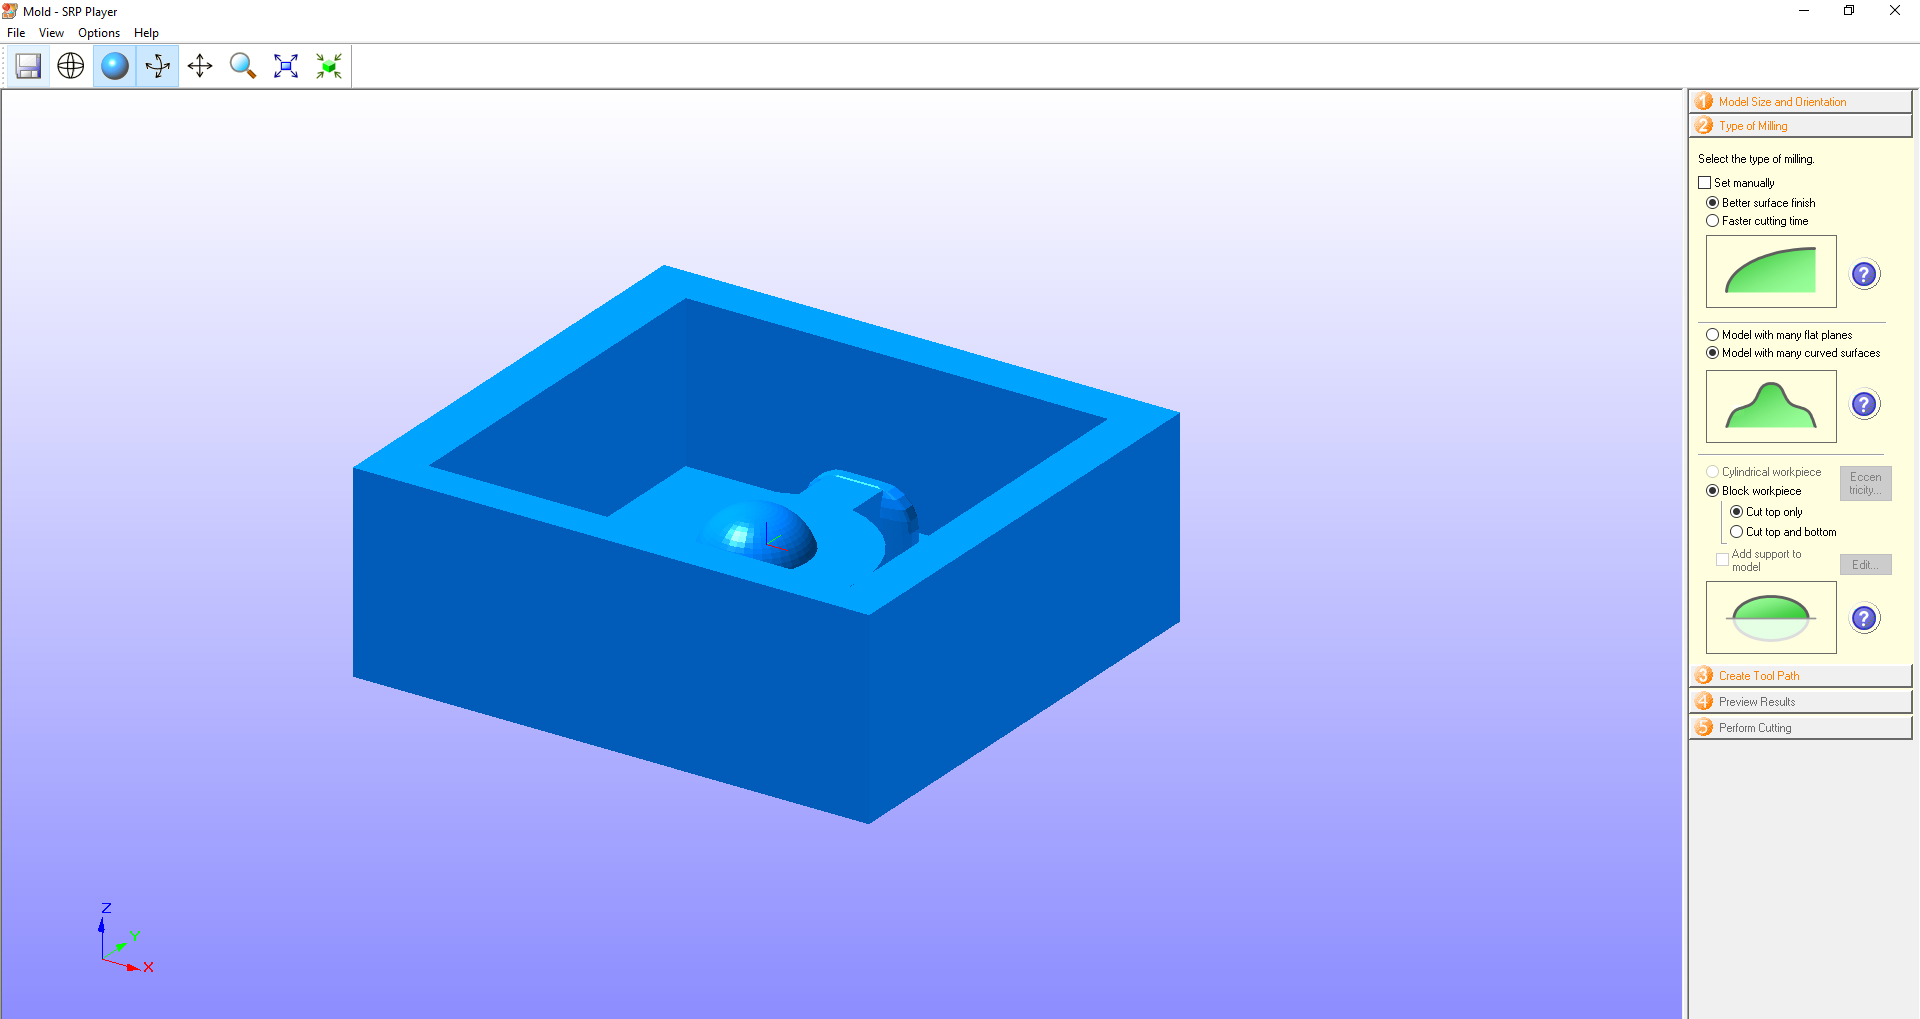
I select the Milling type. (Better Finish, many curve surfaces so that it is 2.5D).
I select the workpiece size and align model to top.
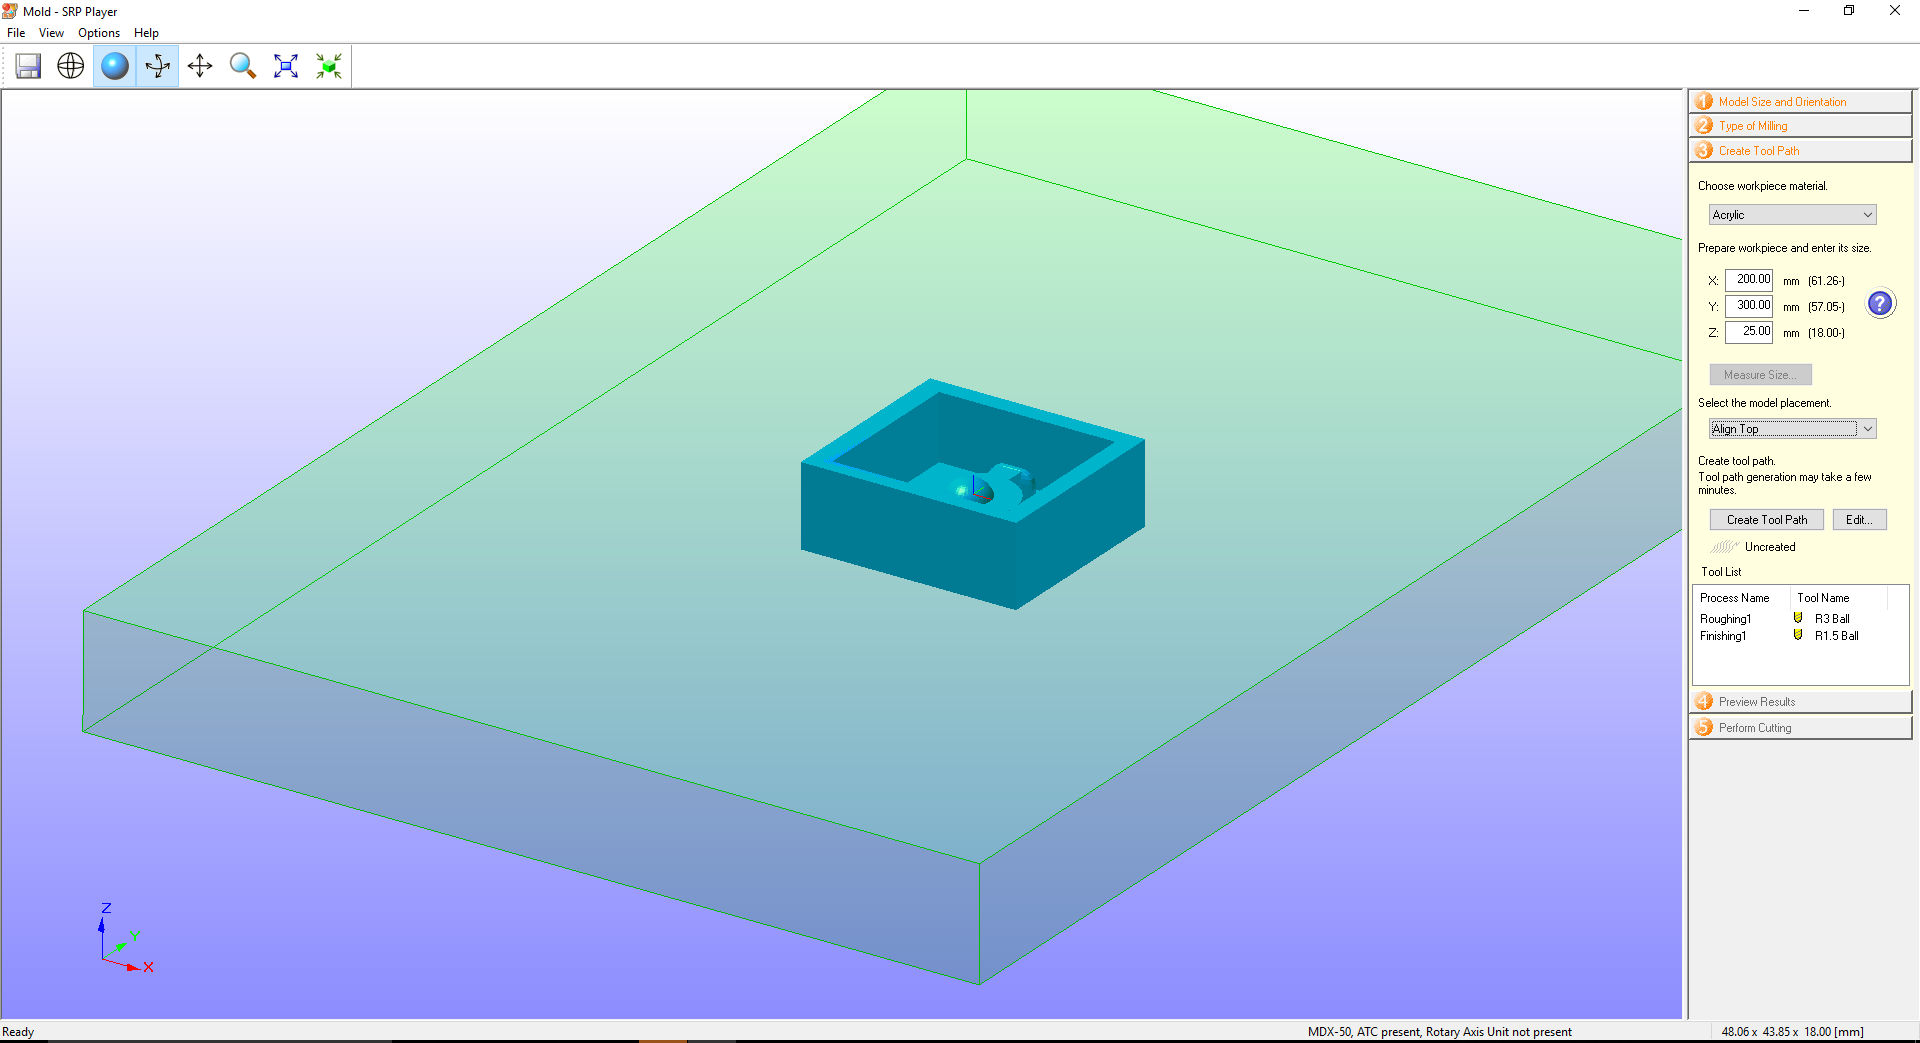
I select the toolpath settings for roughing and finishing.
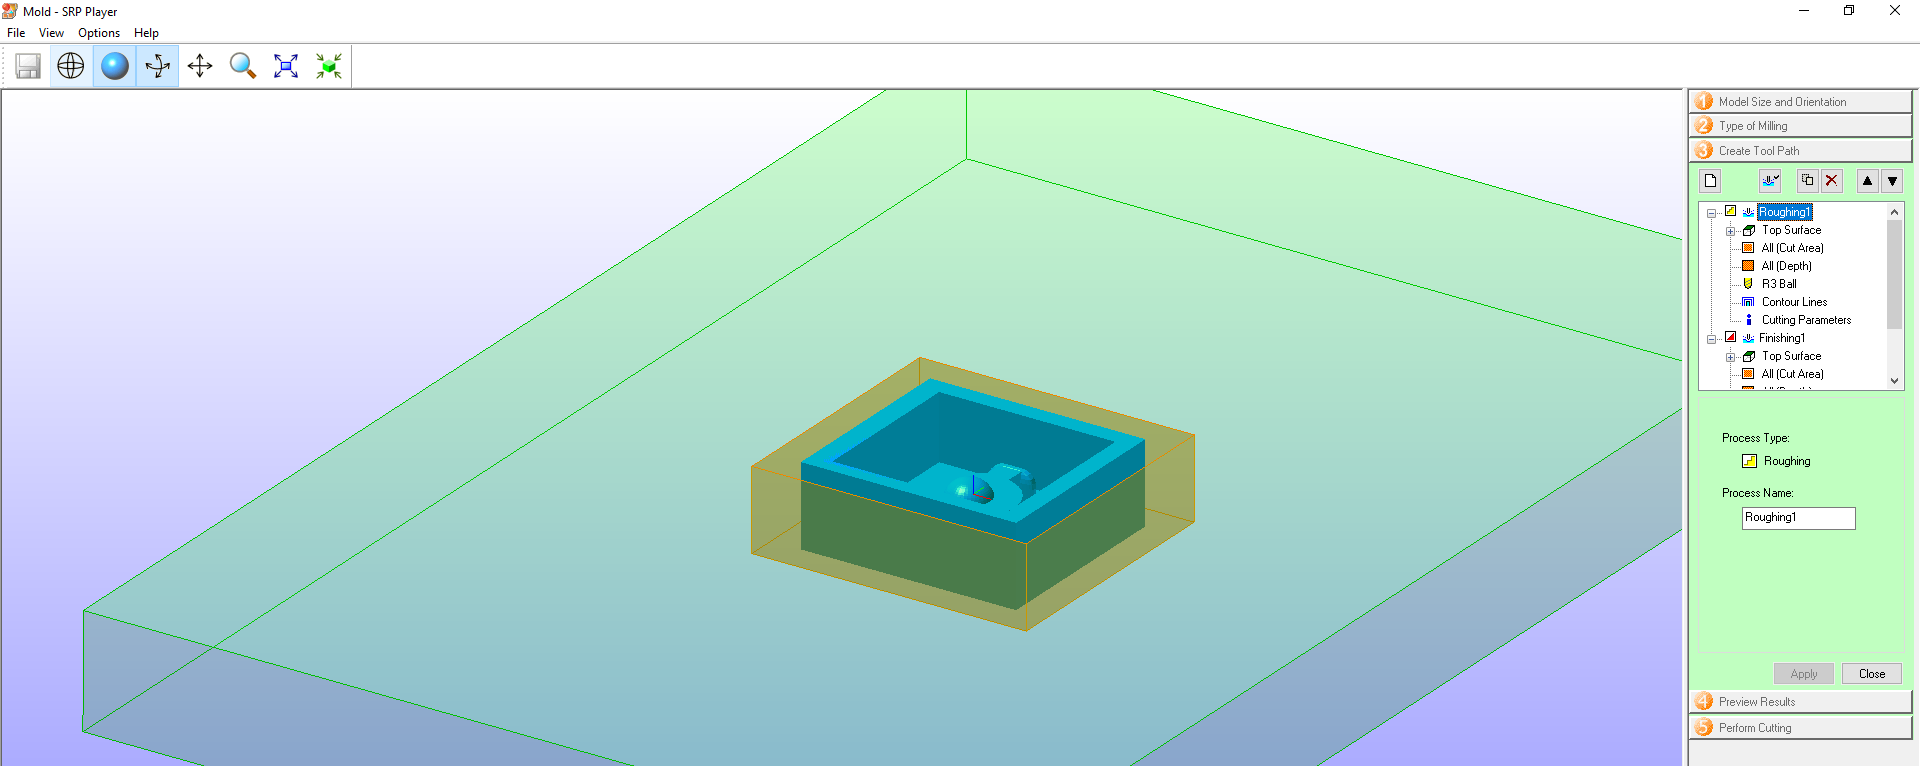
I create the toolpath
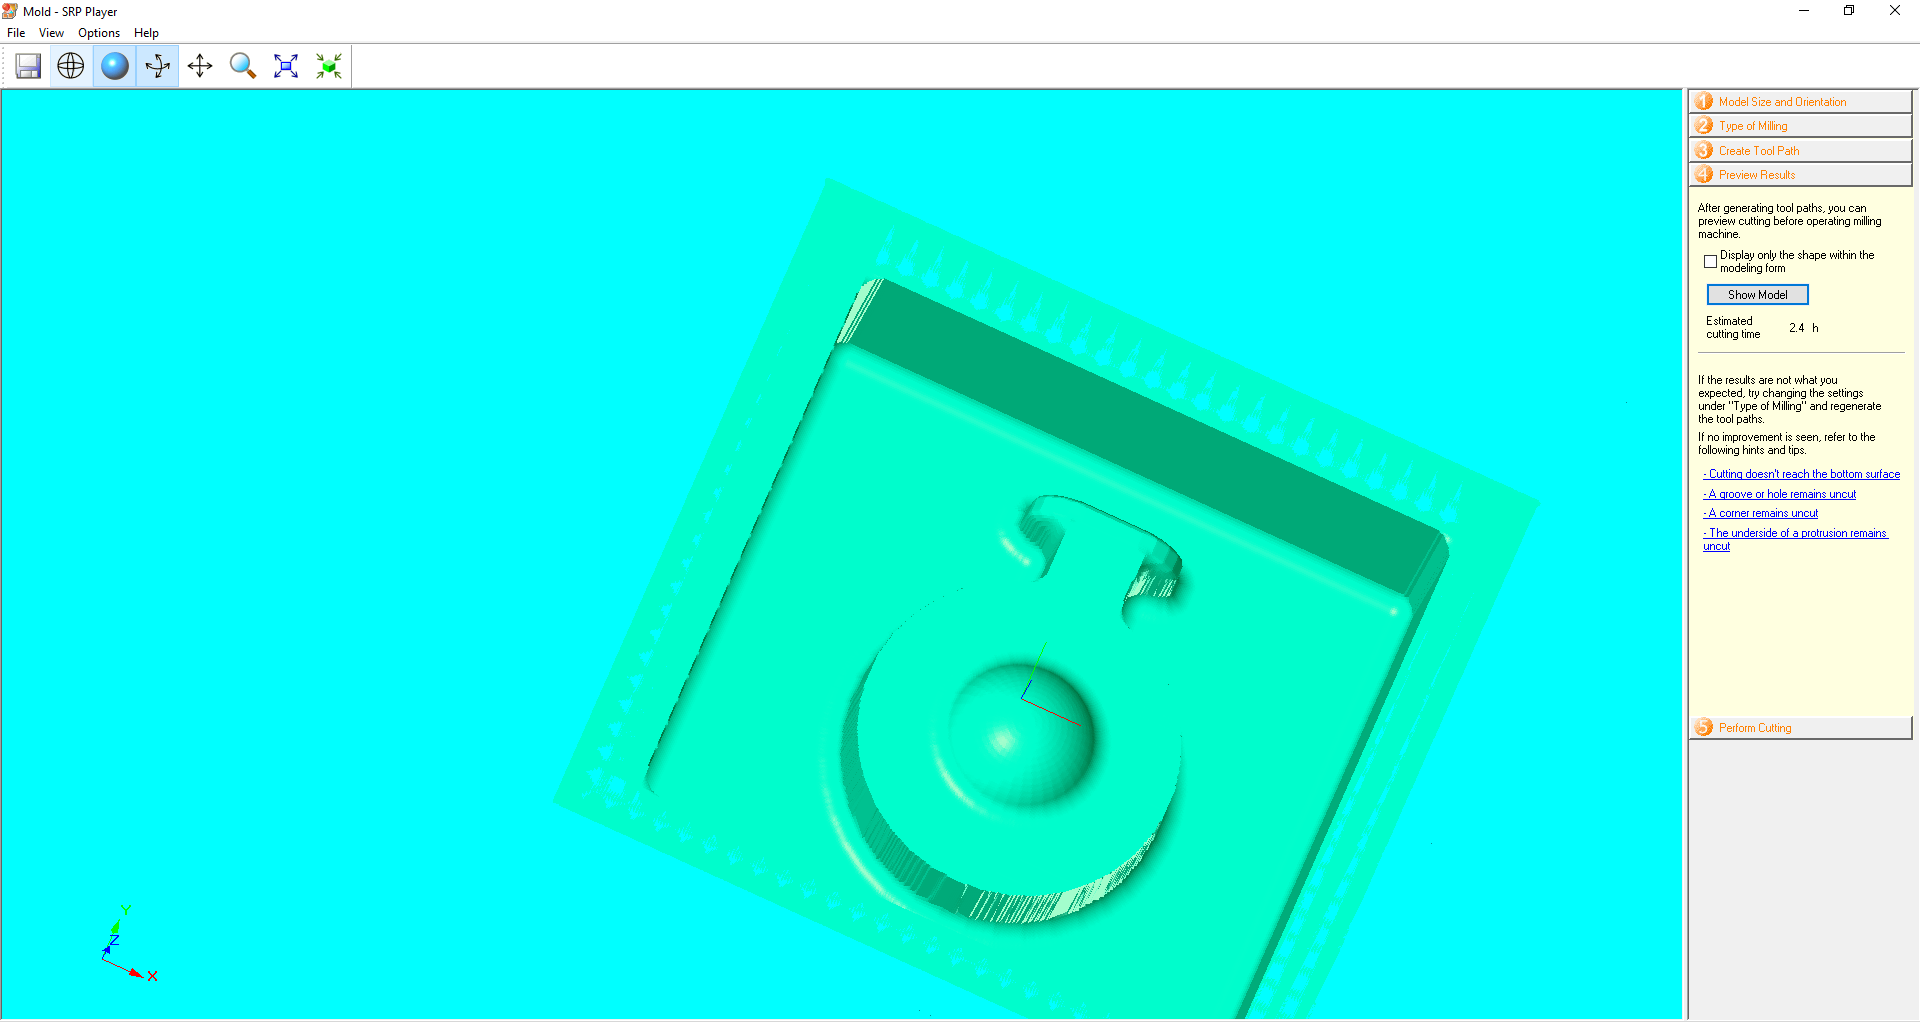
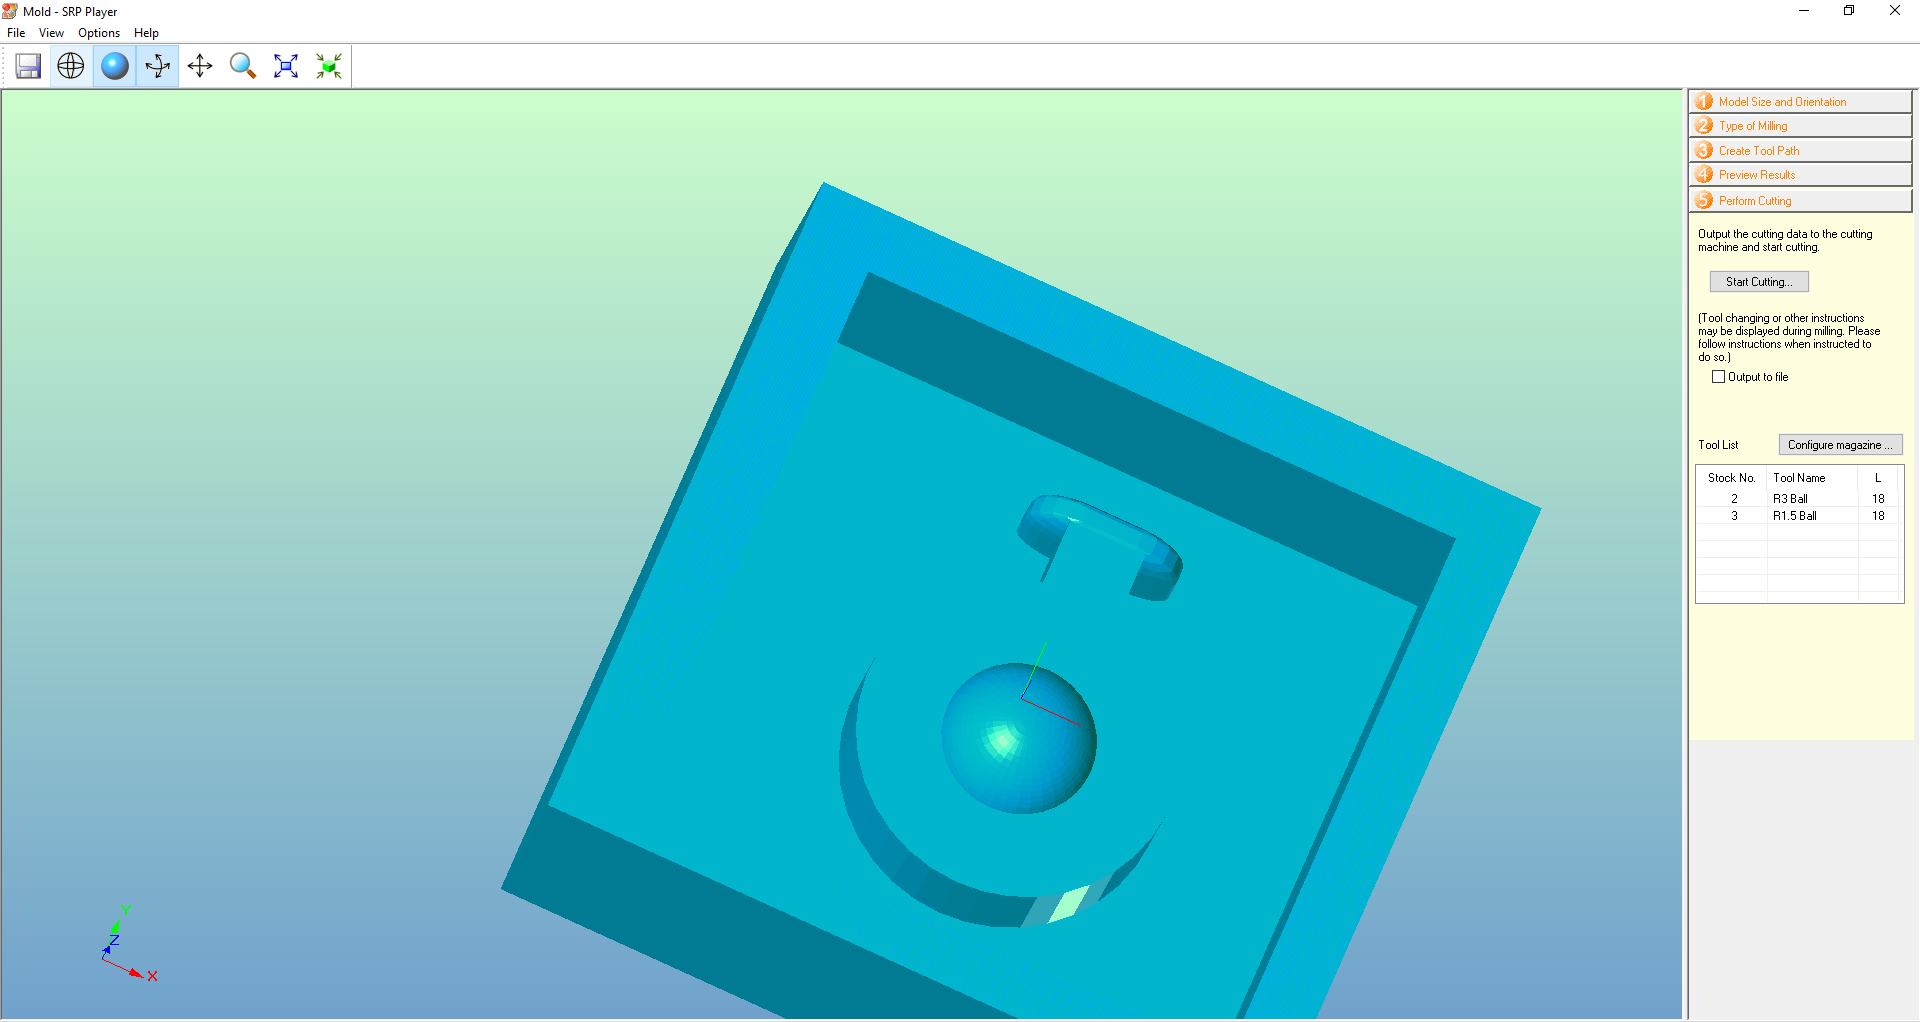
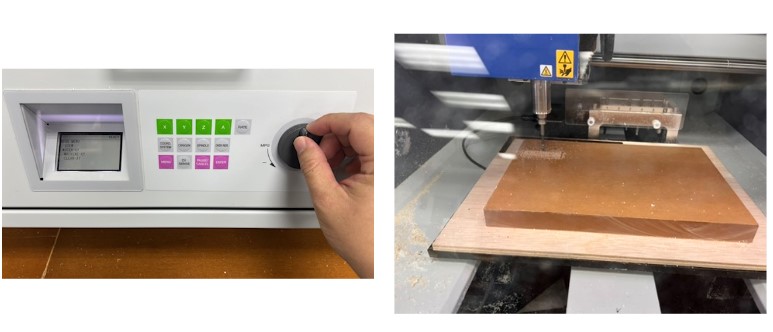
I continue to simulate and start the cutting after I adjust the location for cutting. And shown is the part after washed.
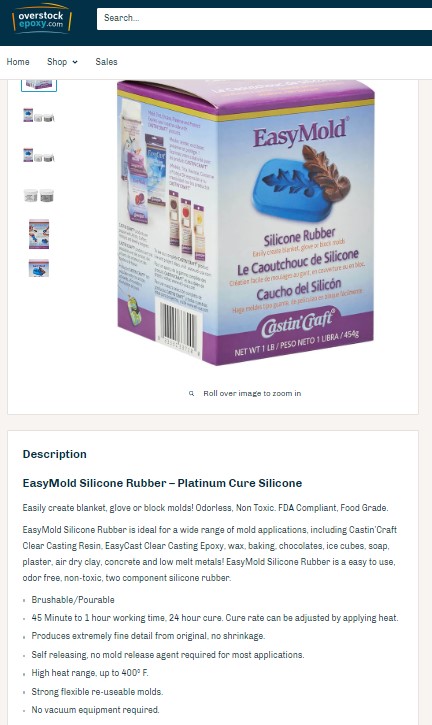
Reading EasyMold Again
First I read the Datasheet and listed the key points of EasyMold Silicone Rubber – Platinum Cure Silicone below here..
| Category | Details |
|---|---|
| Material Type | Platinum cure, two-component silicone rubber |
| Properties |
|
| Applications |
|
| Key Properties |
|
| Handling |
|
| Storage |
|
| Personal Protective Equipment (PPE) |
|
| First-Aid Measures |
|
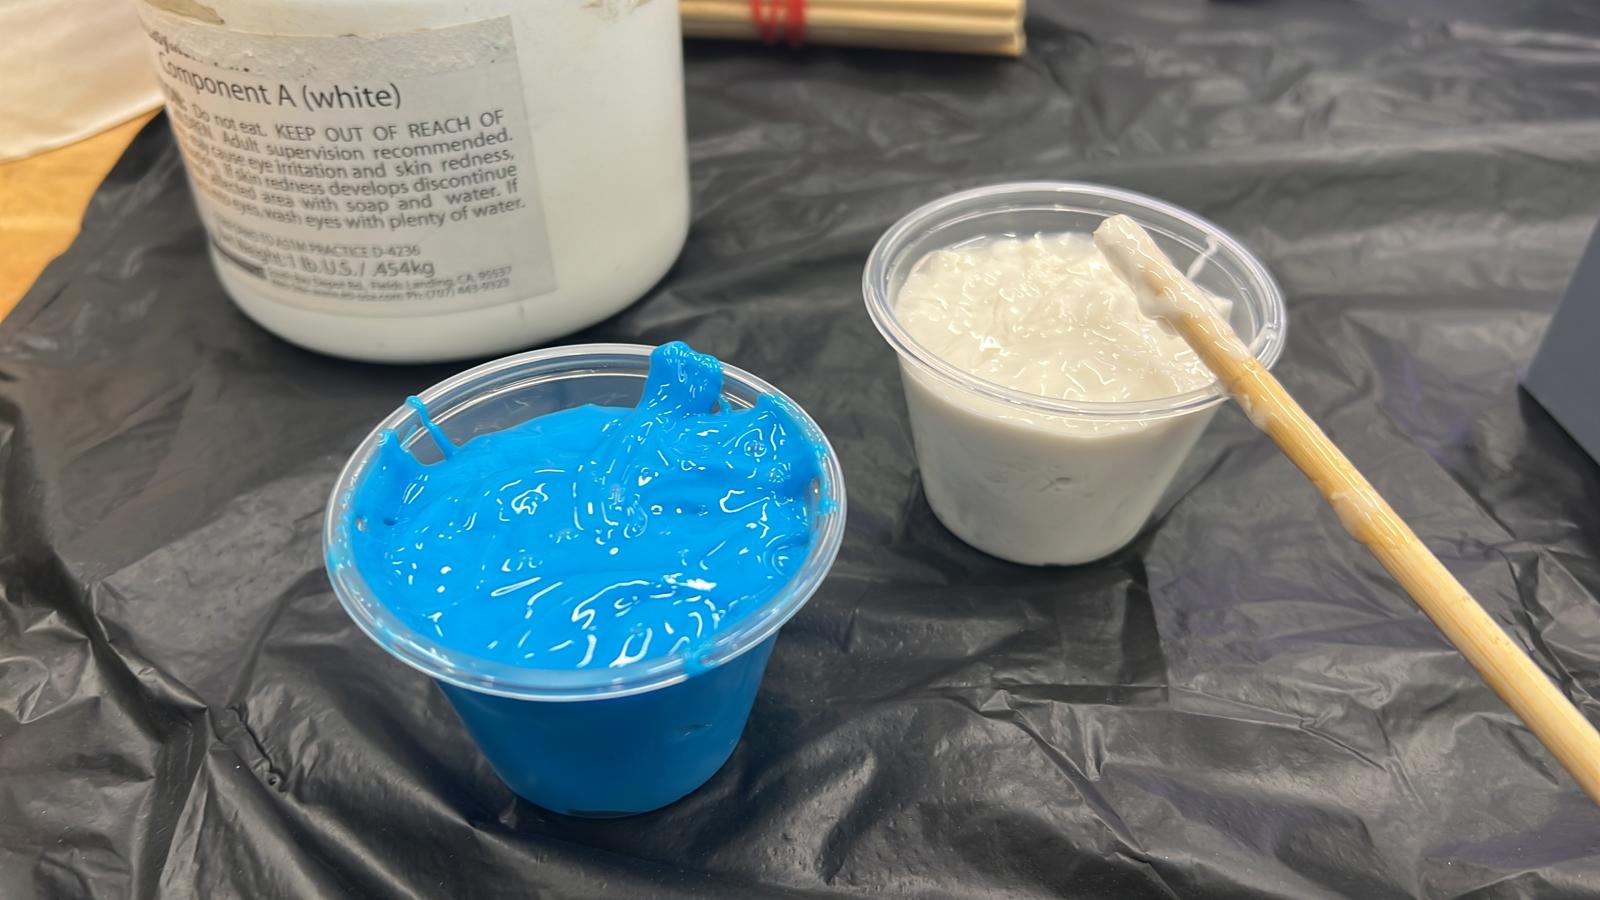
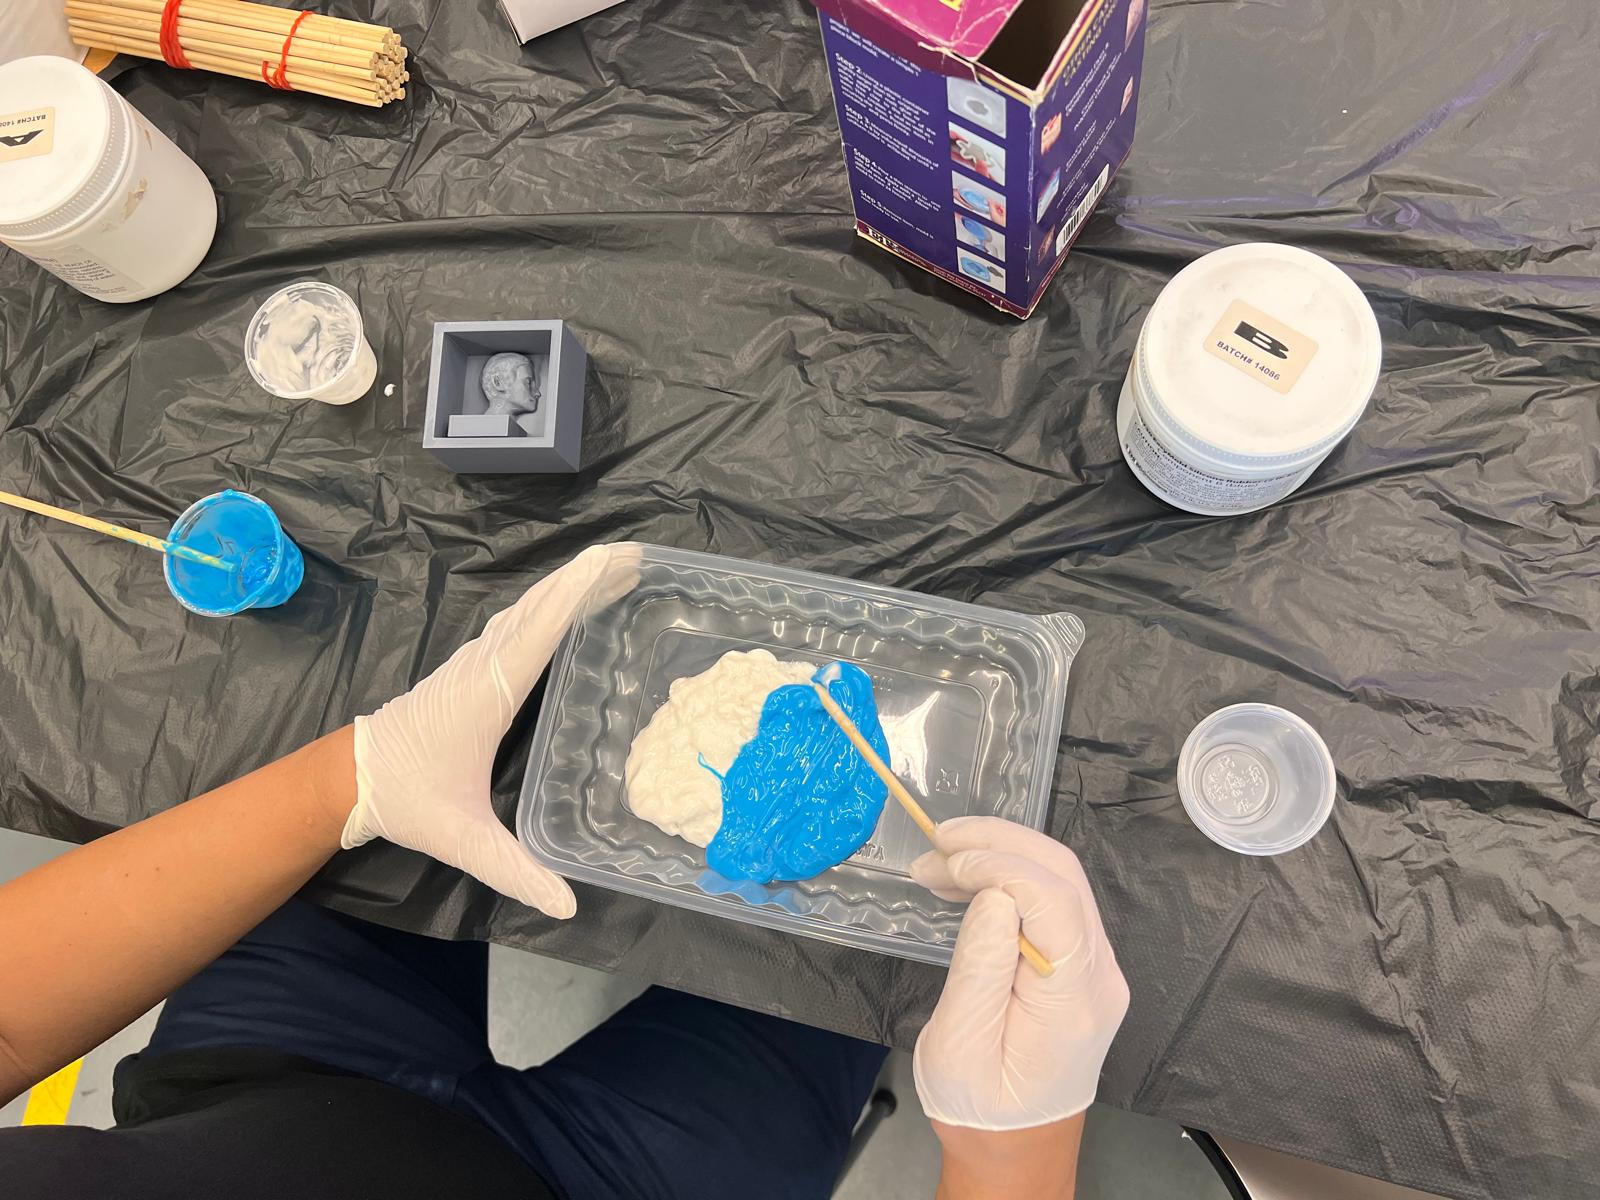
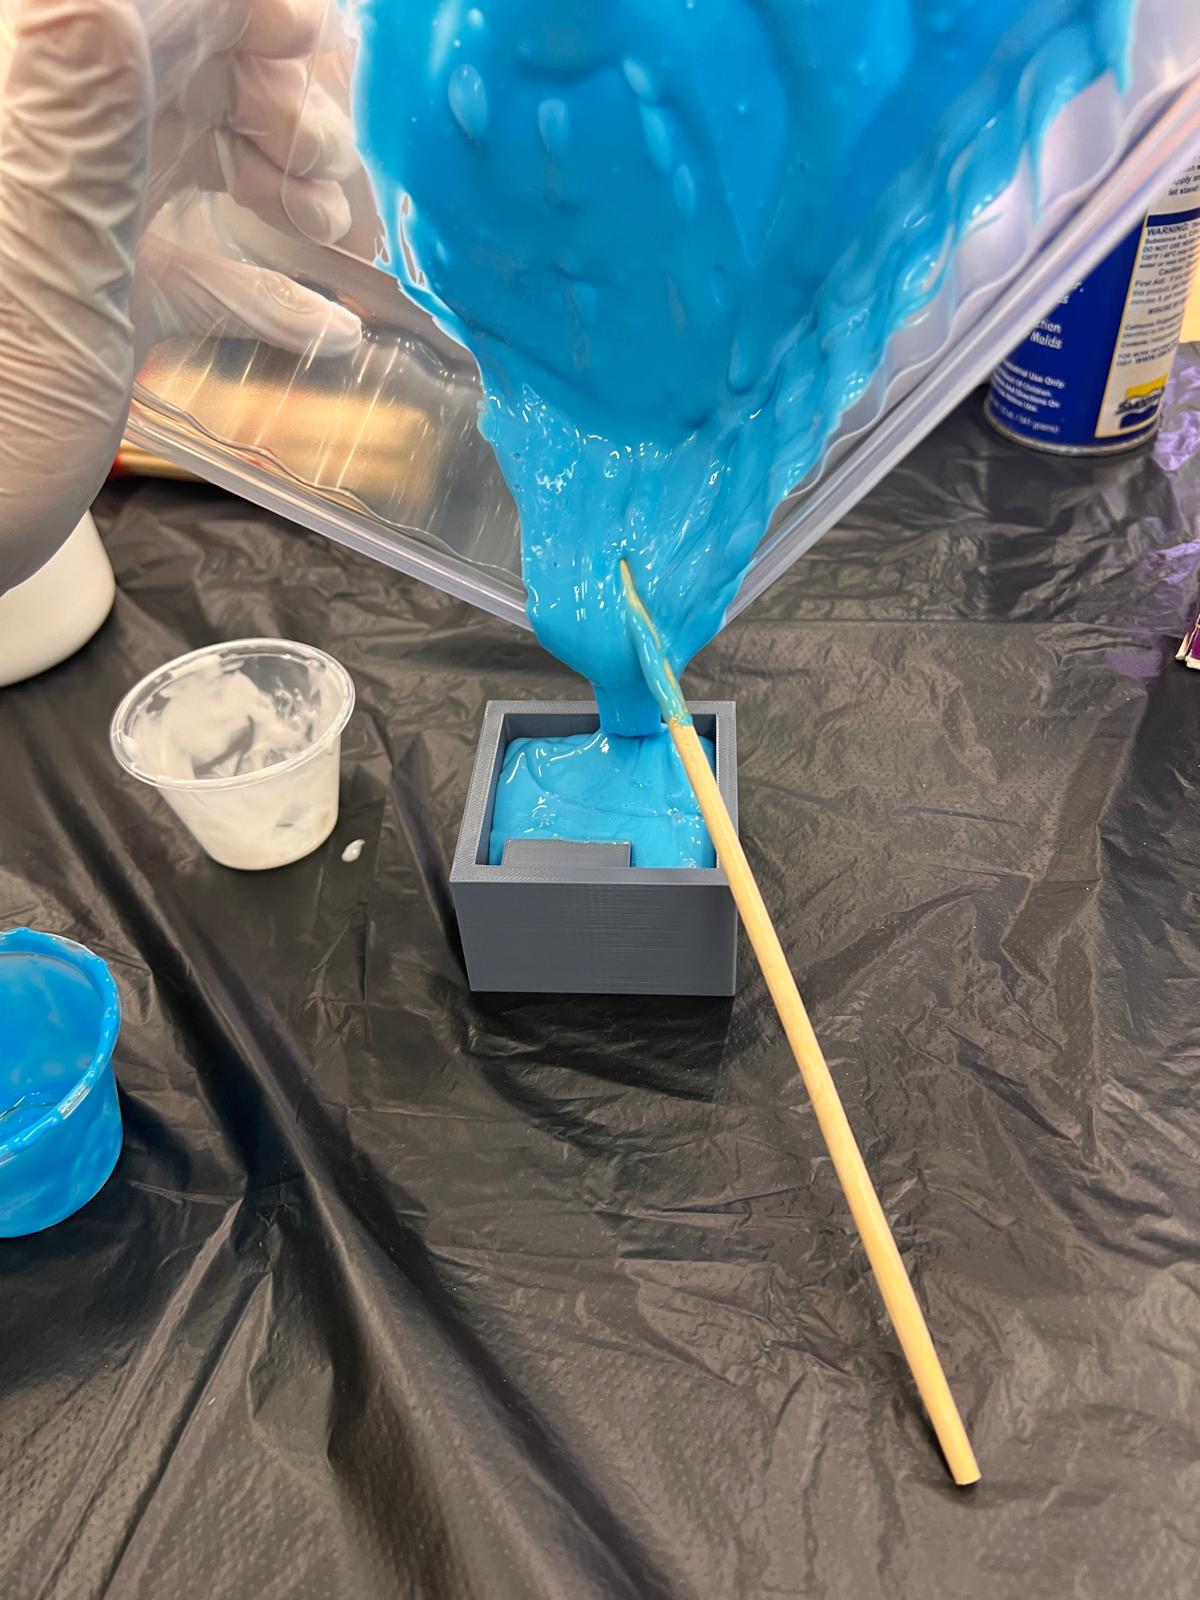
Mixing EasyMold
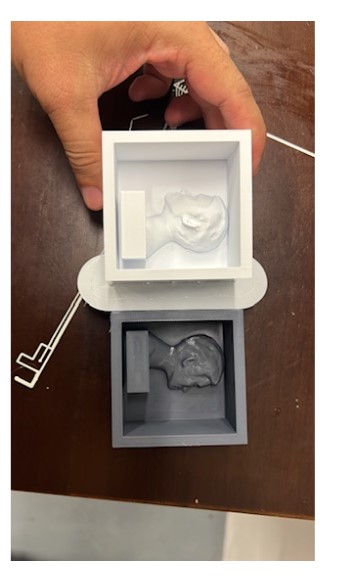
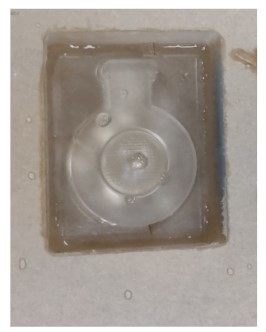
I mixed the Type A and B in equal parts by volume and mix until uniform color and wait for the mold for 24hours. Shown are the results of different mold
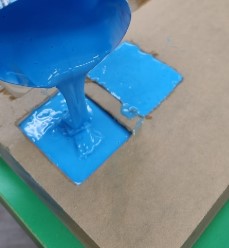

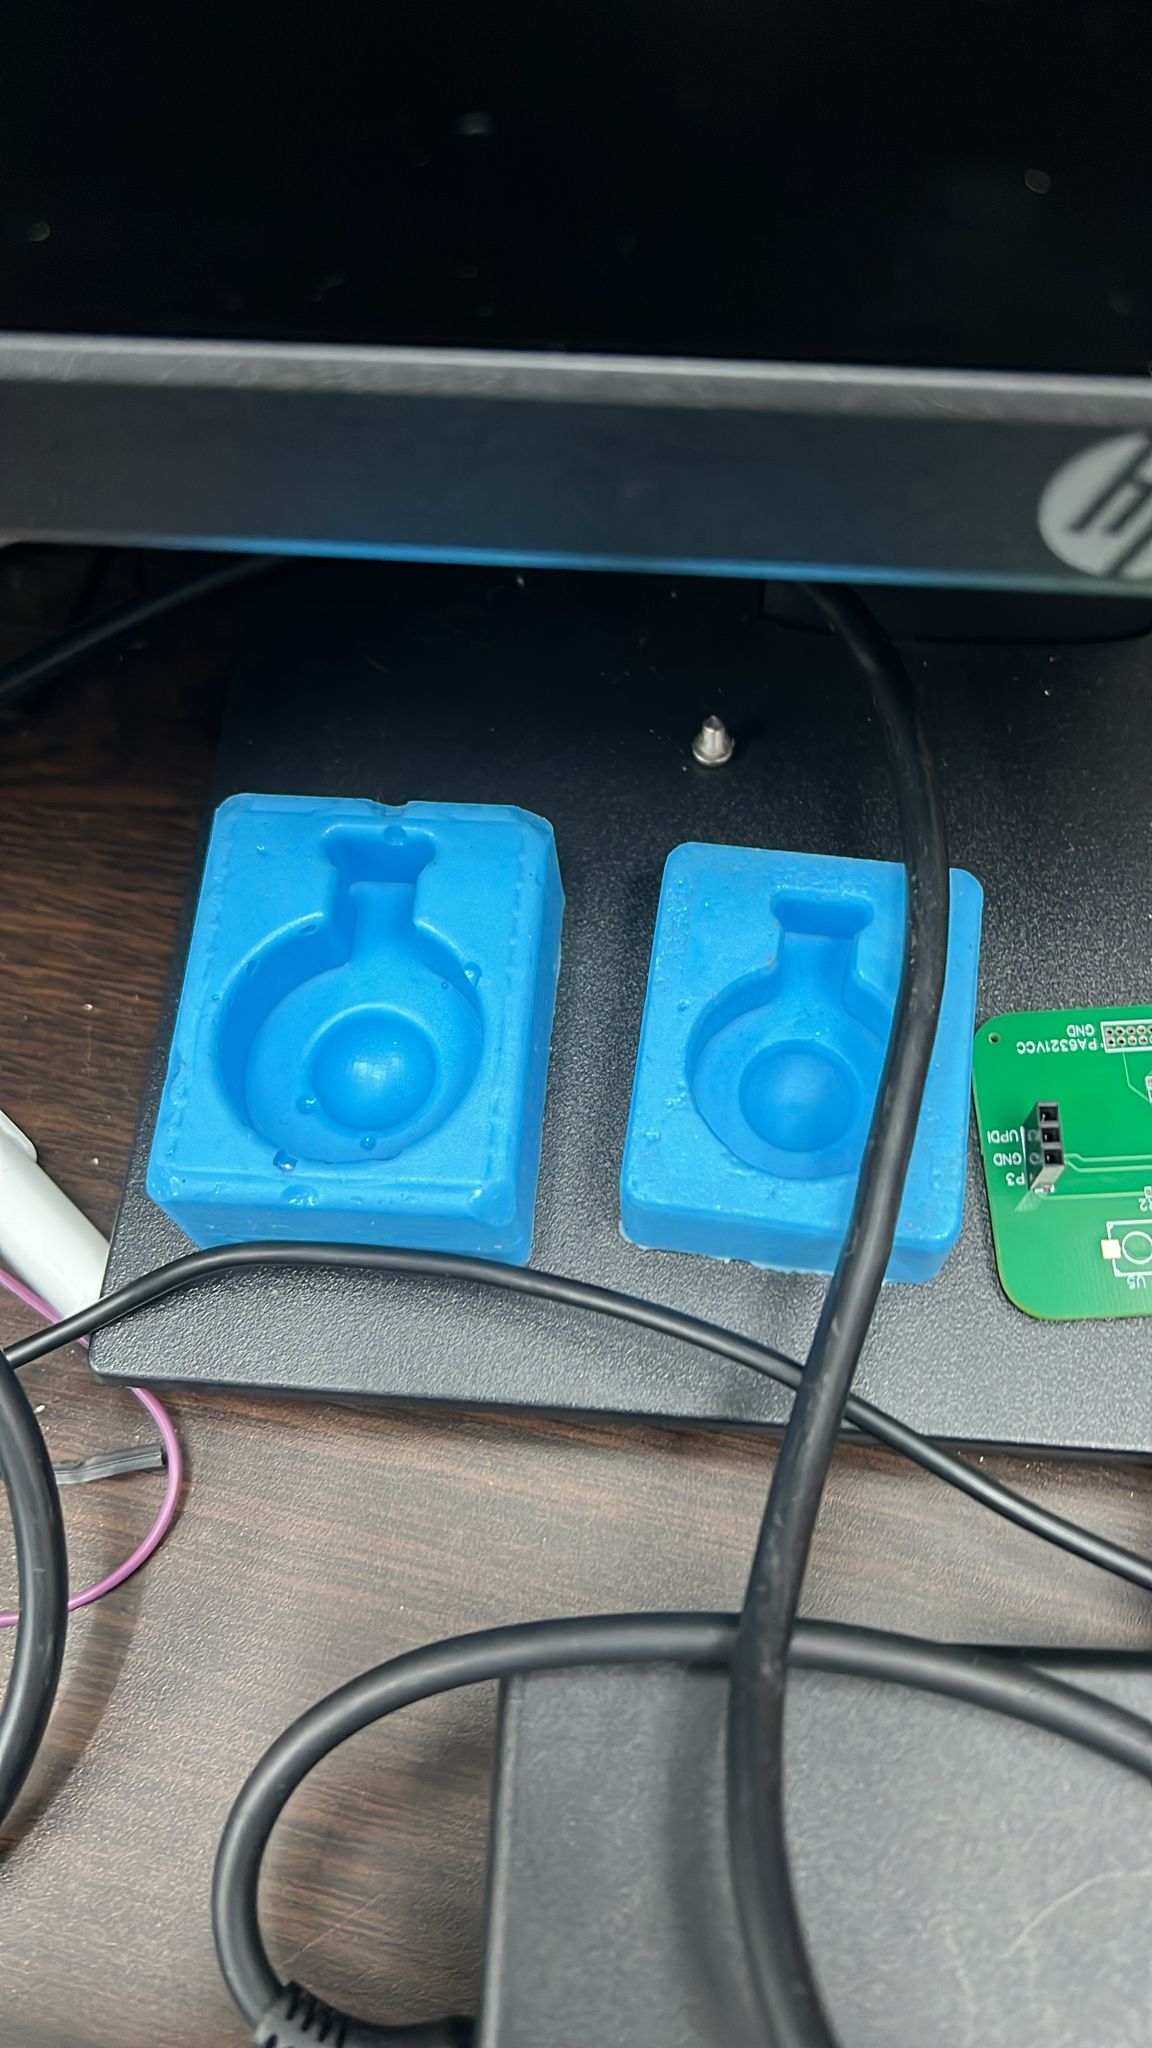
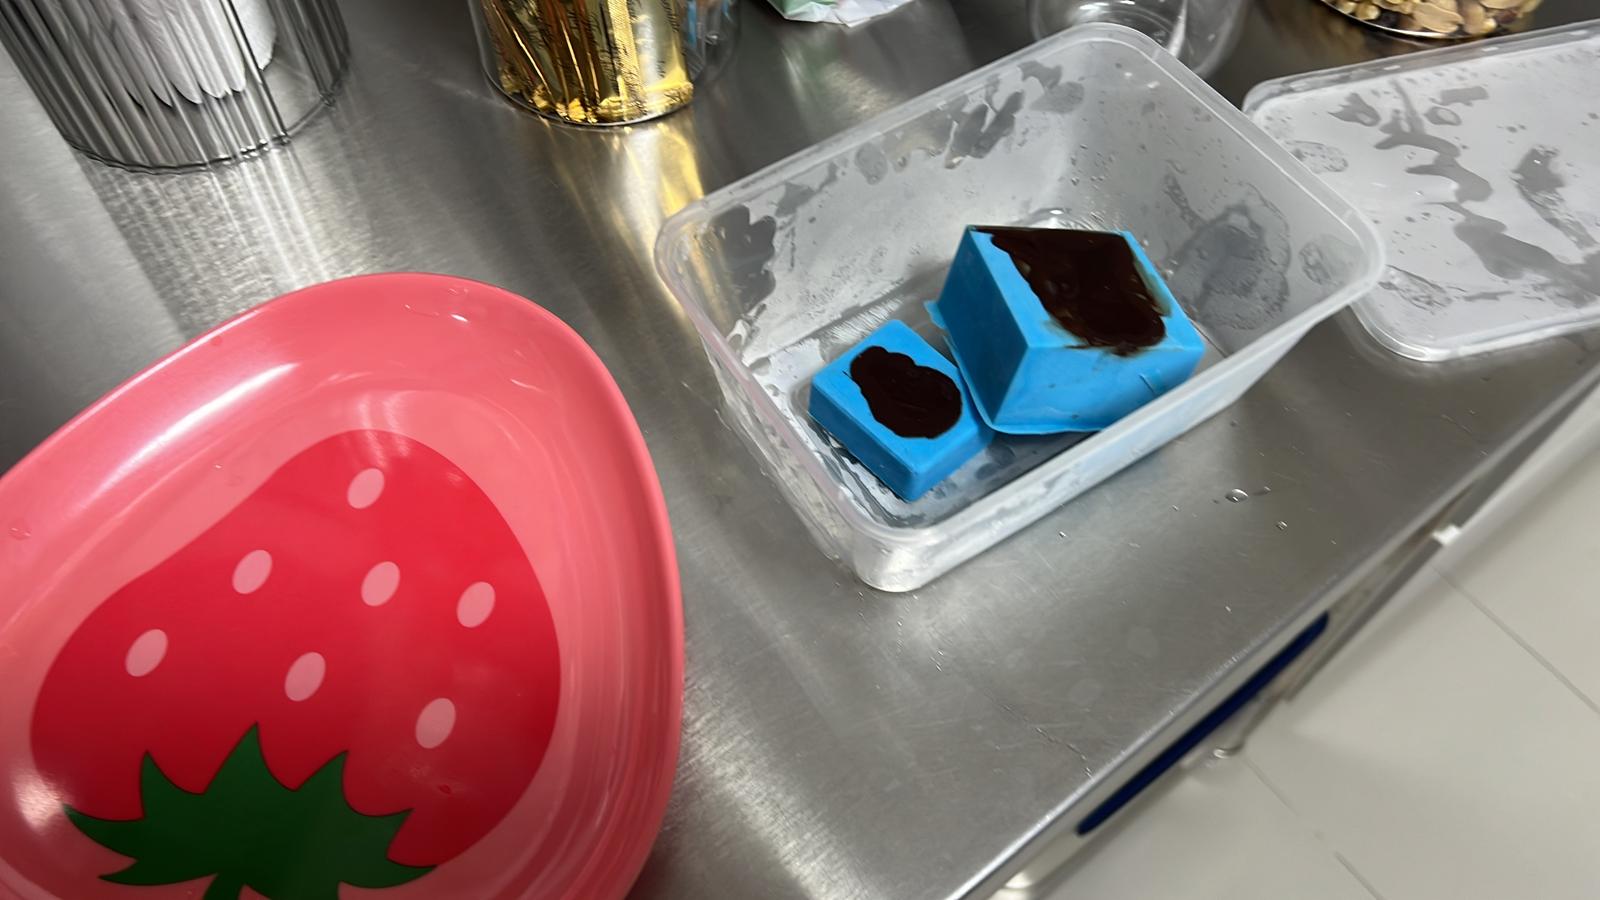
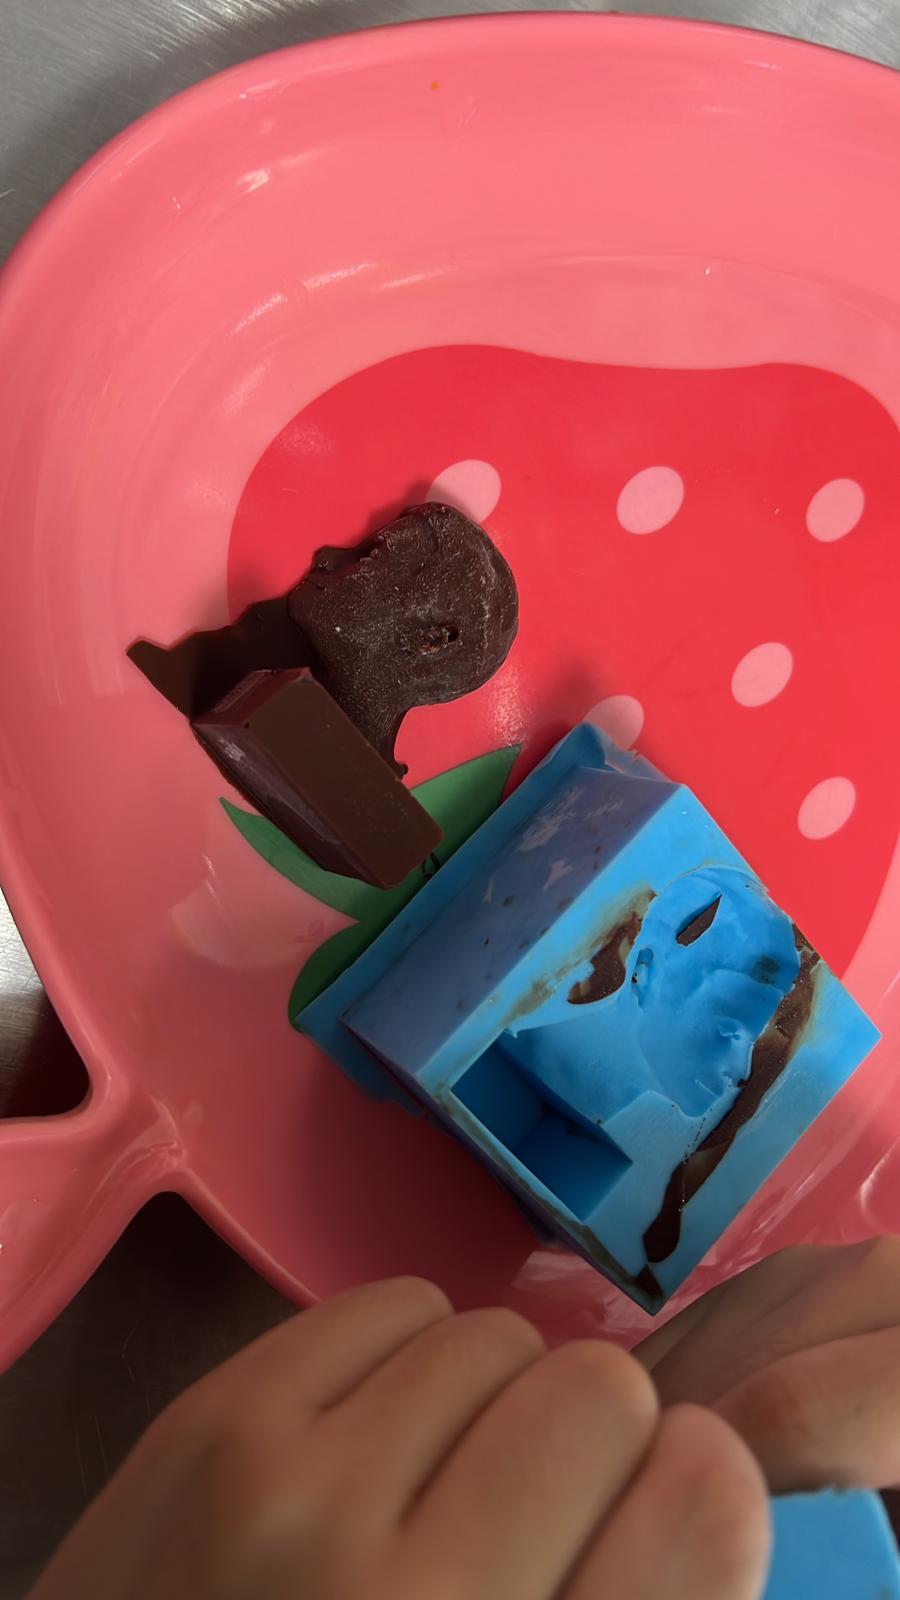
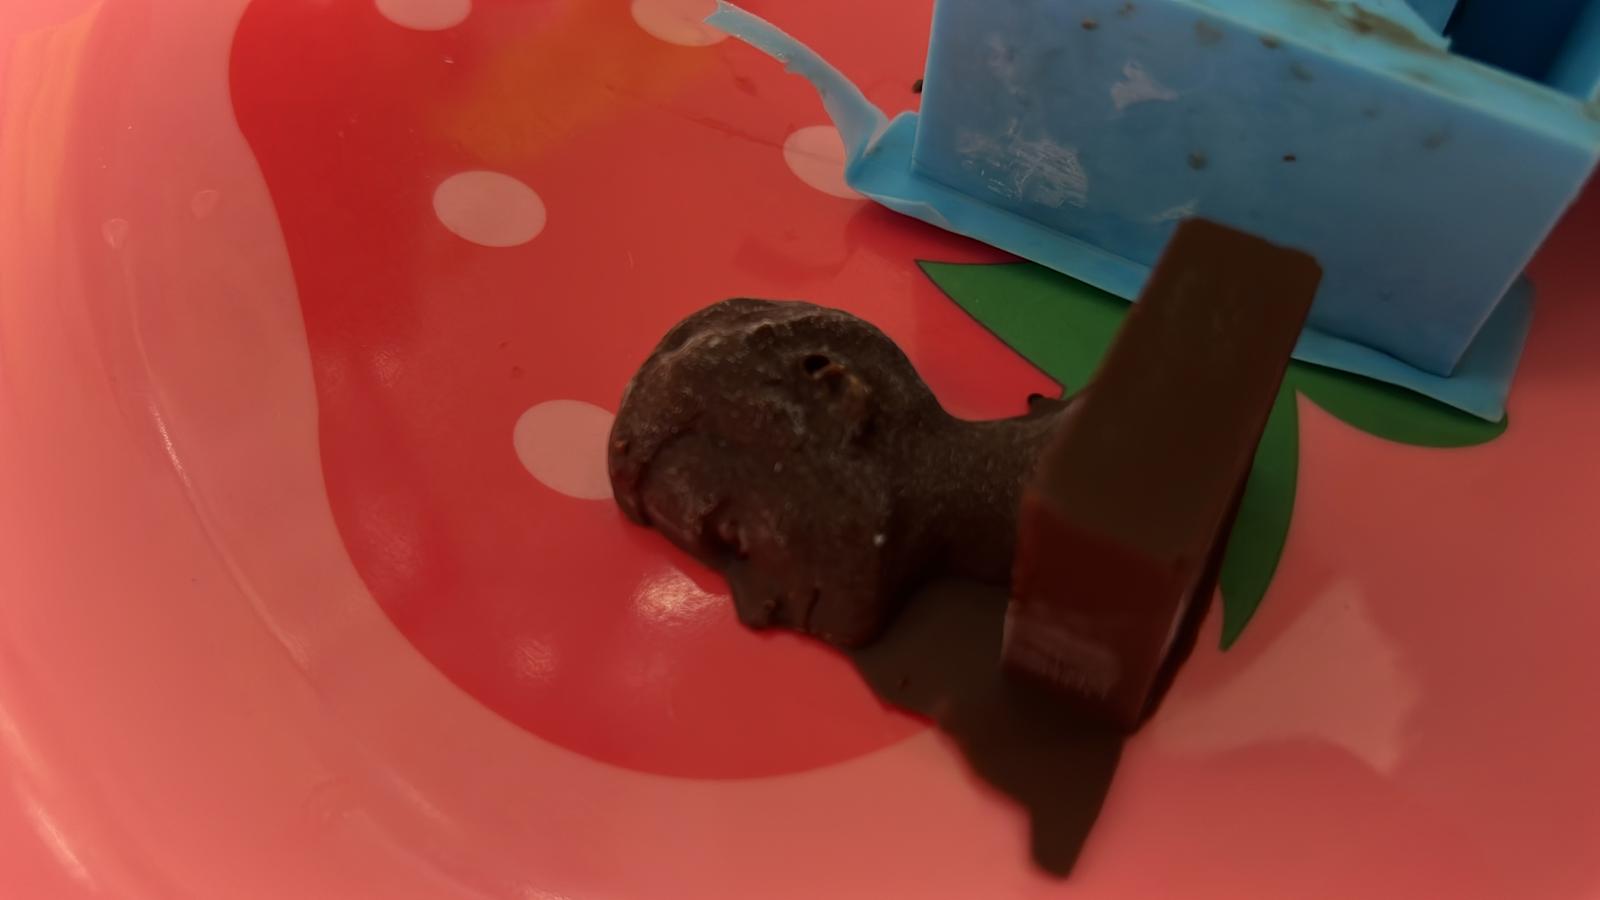
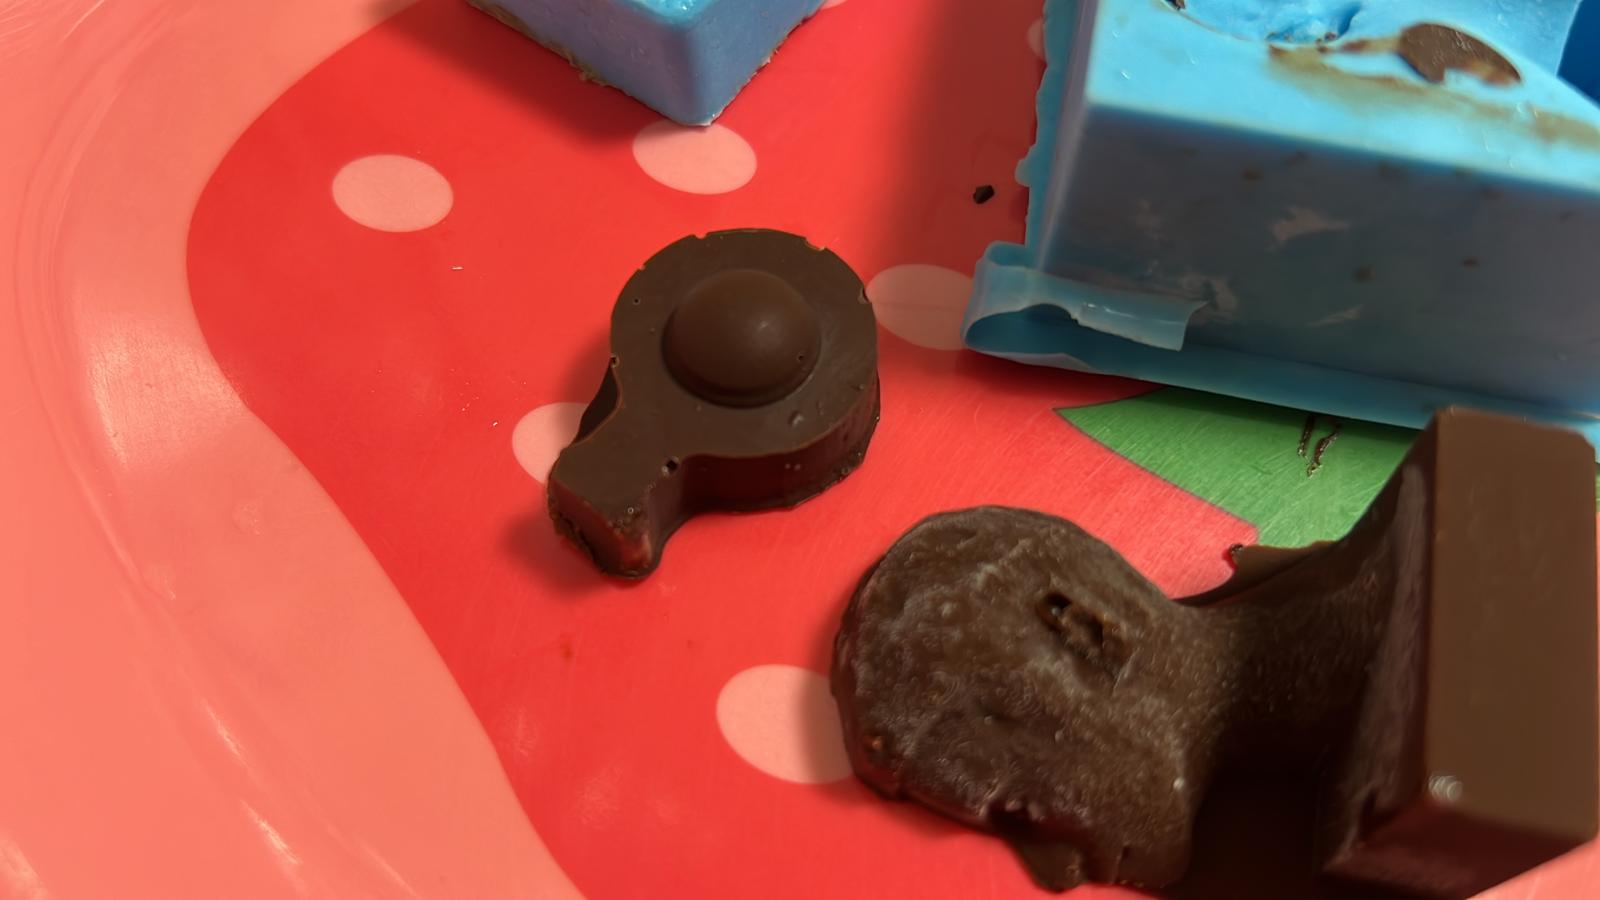
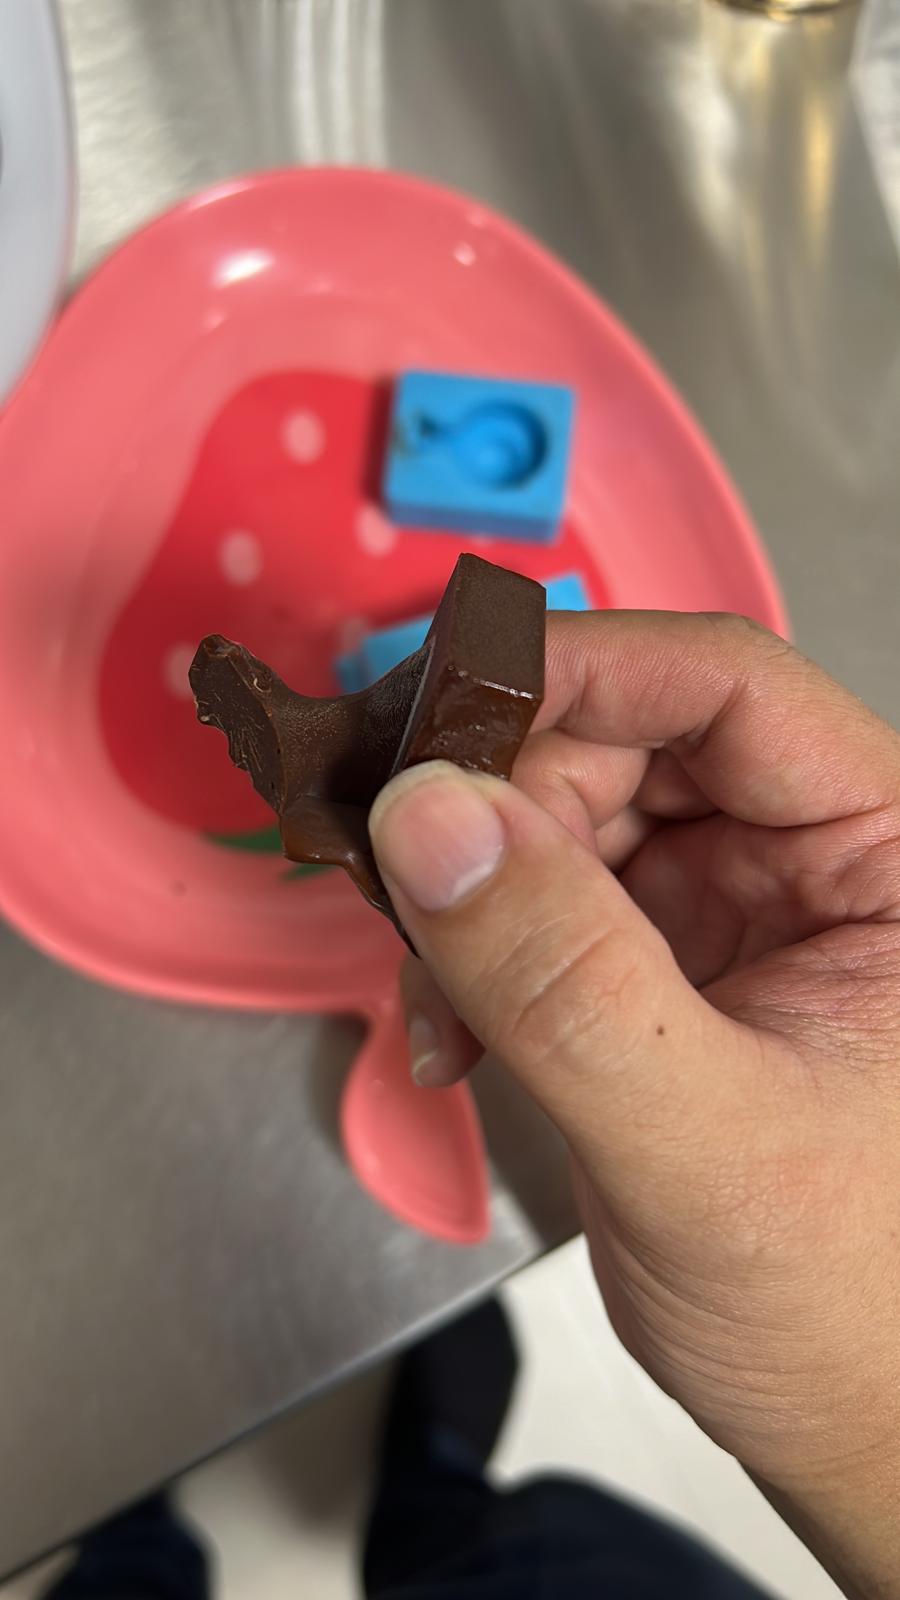
Preparing the Chocolates
I heated Chocolate and poured it into the mold. Retrieve my chocolate and open new one. Since my job is to compare items made from CNC and 3D printed mold. Both taste equally yummy.
But honestly, the comparision is in table of next section. below is picture of chocolates made.
Comparing the process for making mold and products via CNC and 3D printing
For this project, I had CNC mill on Acrylic and 3D print using PLA, the mold are made by EasyMold Silicone.
| Feature | CNC Molds | 3D Printed Molds |
|---|---|---|
| Material |
|
|
| Surface Finish |
|
|
| Complexity |
|
|
| Cost |
|
|